



Concrete Basketball Court Installation
Half courts, full courts, HOA amenity pads, and driveway-conversion hoop pads across the Charlotte metro — engineered slab, 5-inch minimum thickness, hoop-pad reinforcement, and a written spec before the pour. Zero deposit, licensed and insured, pay-on-completion.
Get your free quote
We respond in less than 2 hours.
Recent Basketball Court Projects
Real customer jobs we've poured. Swipe through and picture yours next.
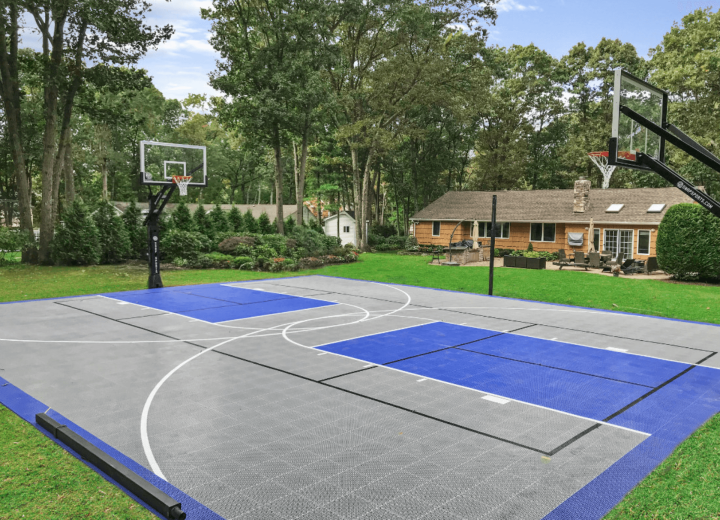
Basketball Court
Recent Job
Real Projects We've Completed
A sampling from the Charlotte-metro portfolio — driveways in Ballantyne, patios in SouthPark, porches in Matthews, pool decks in Weddington. Slide each pair below to see the actual before-and-after we shot on the job site.
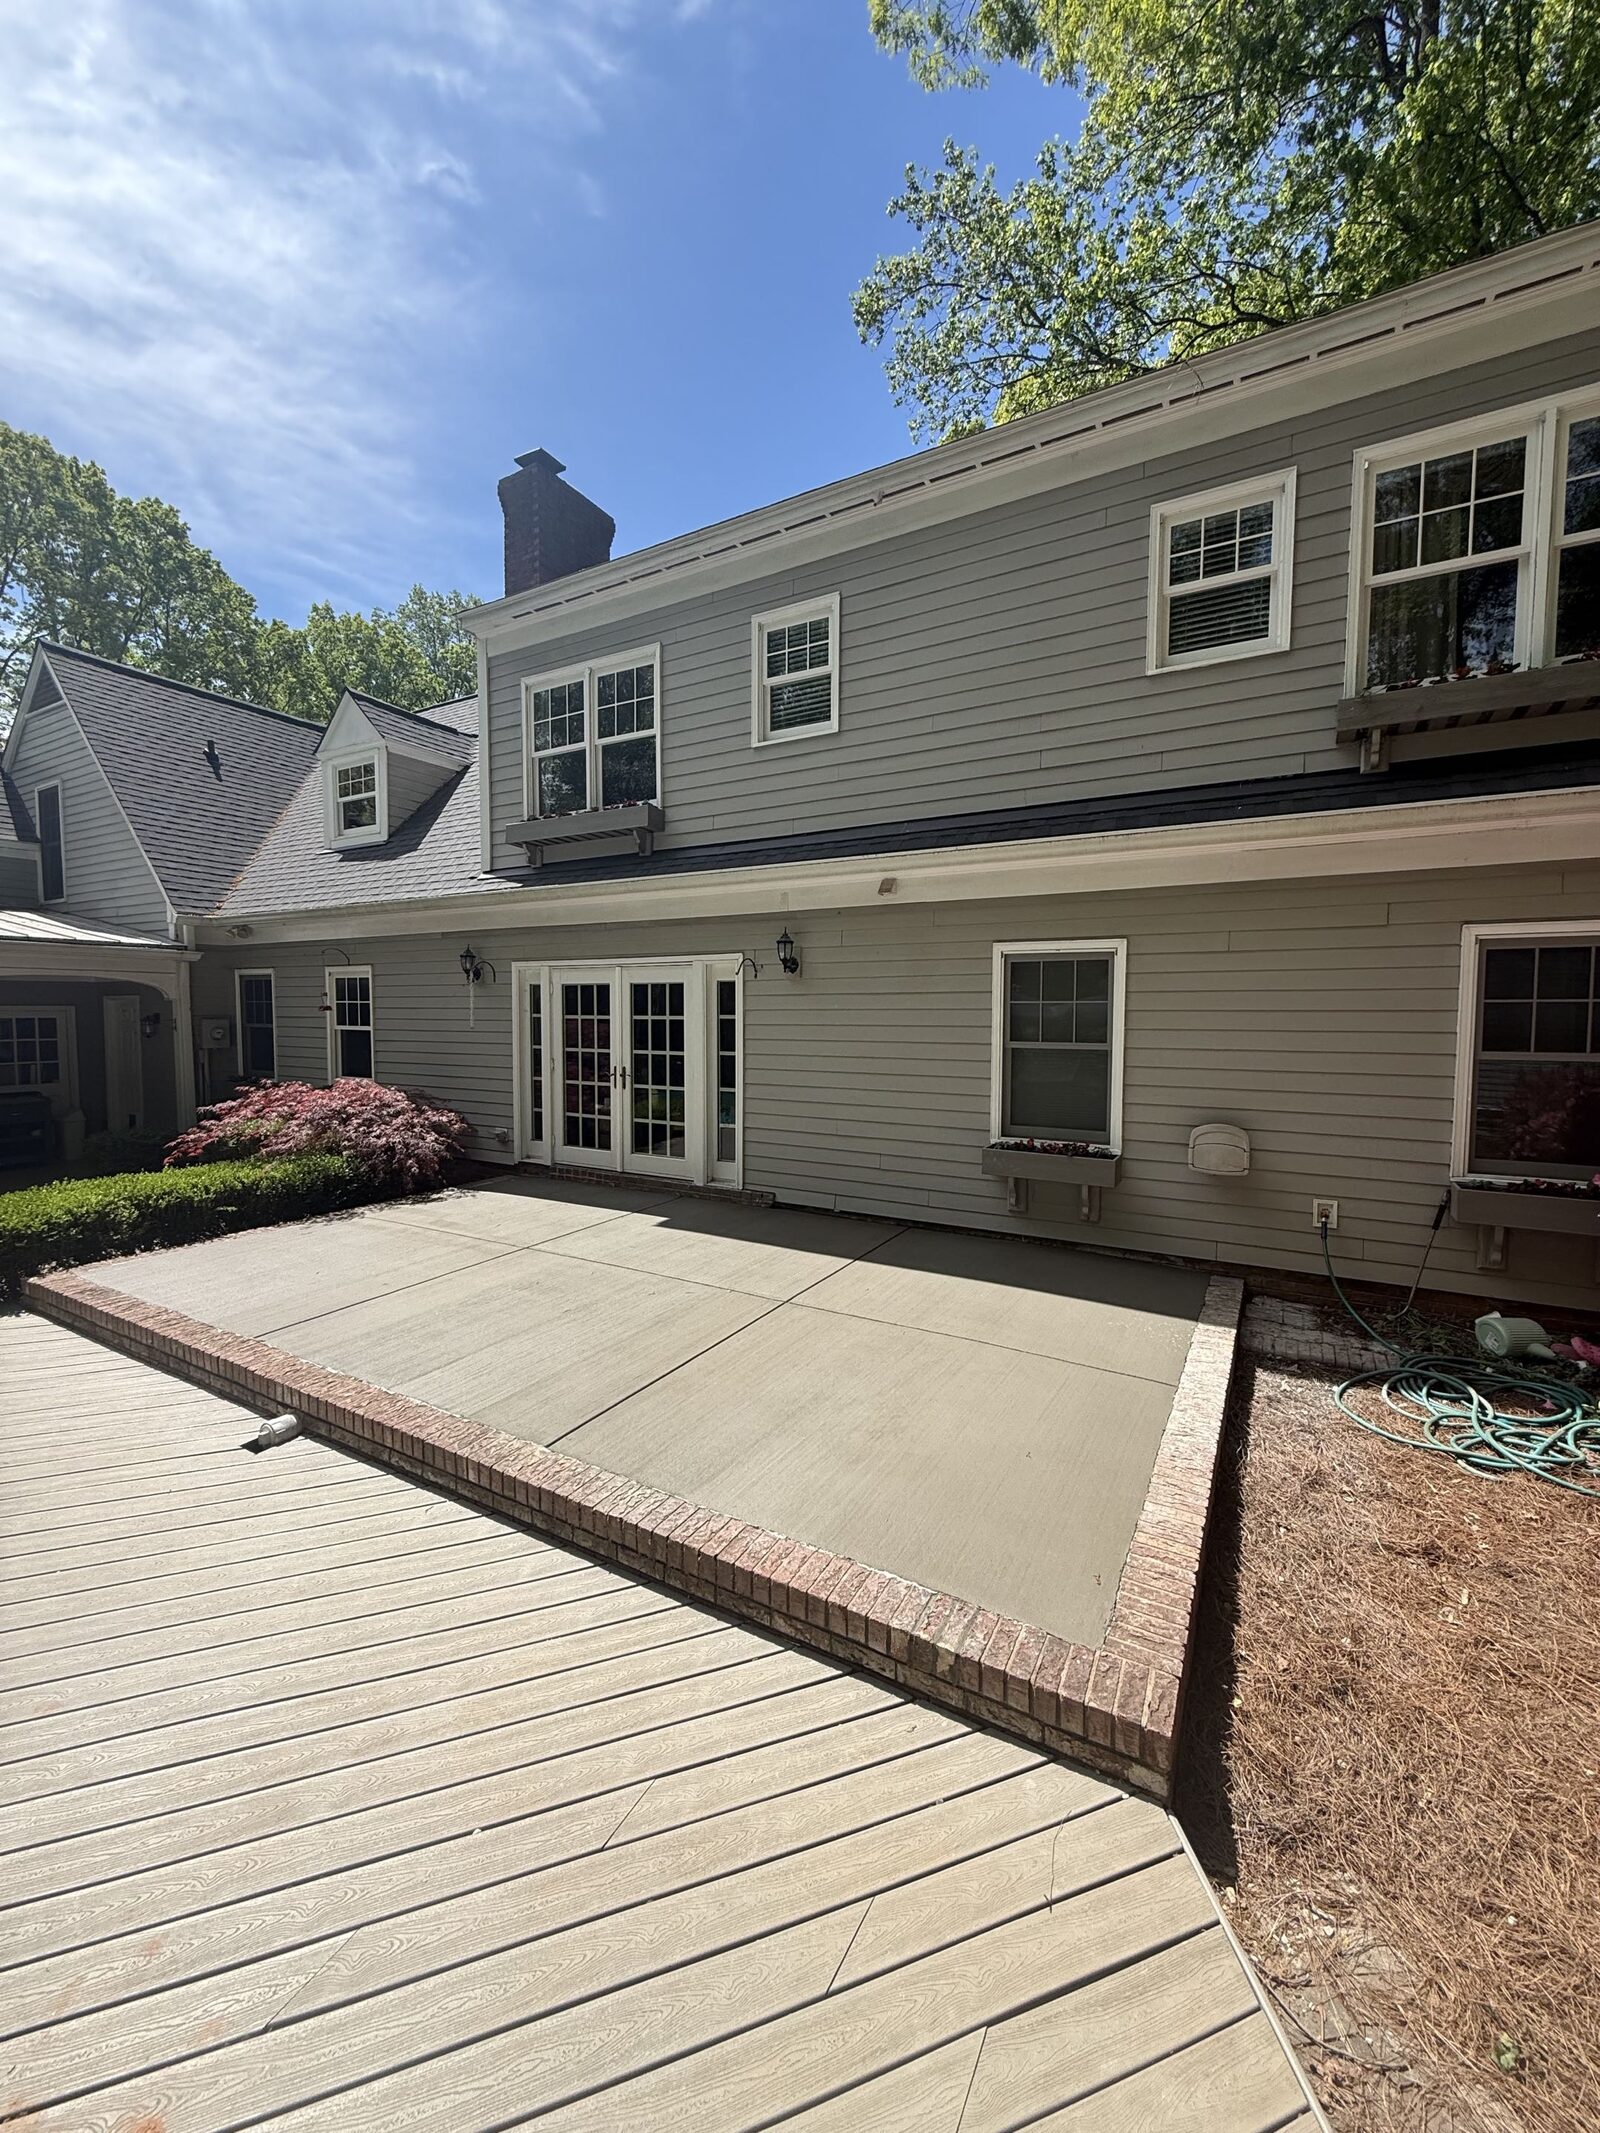

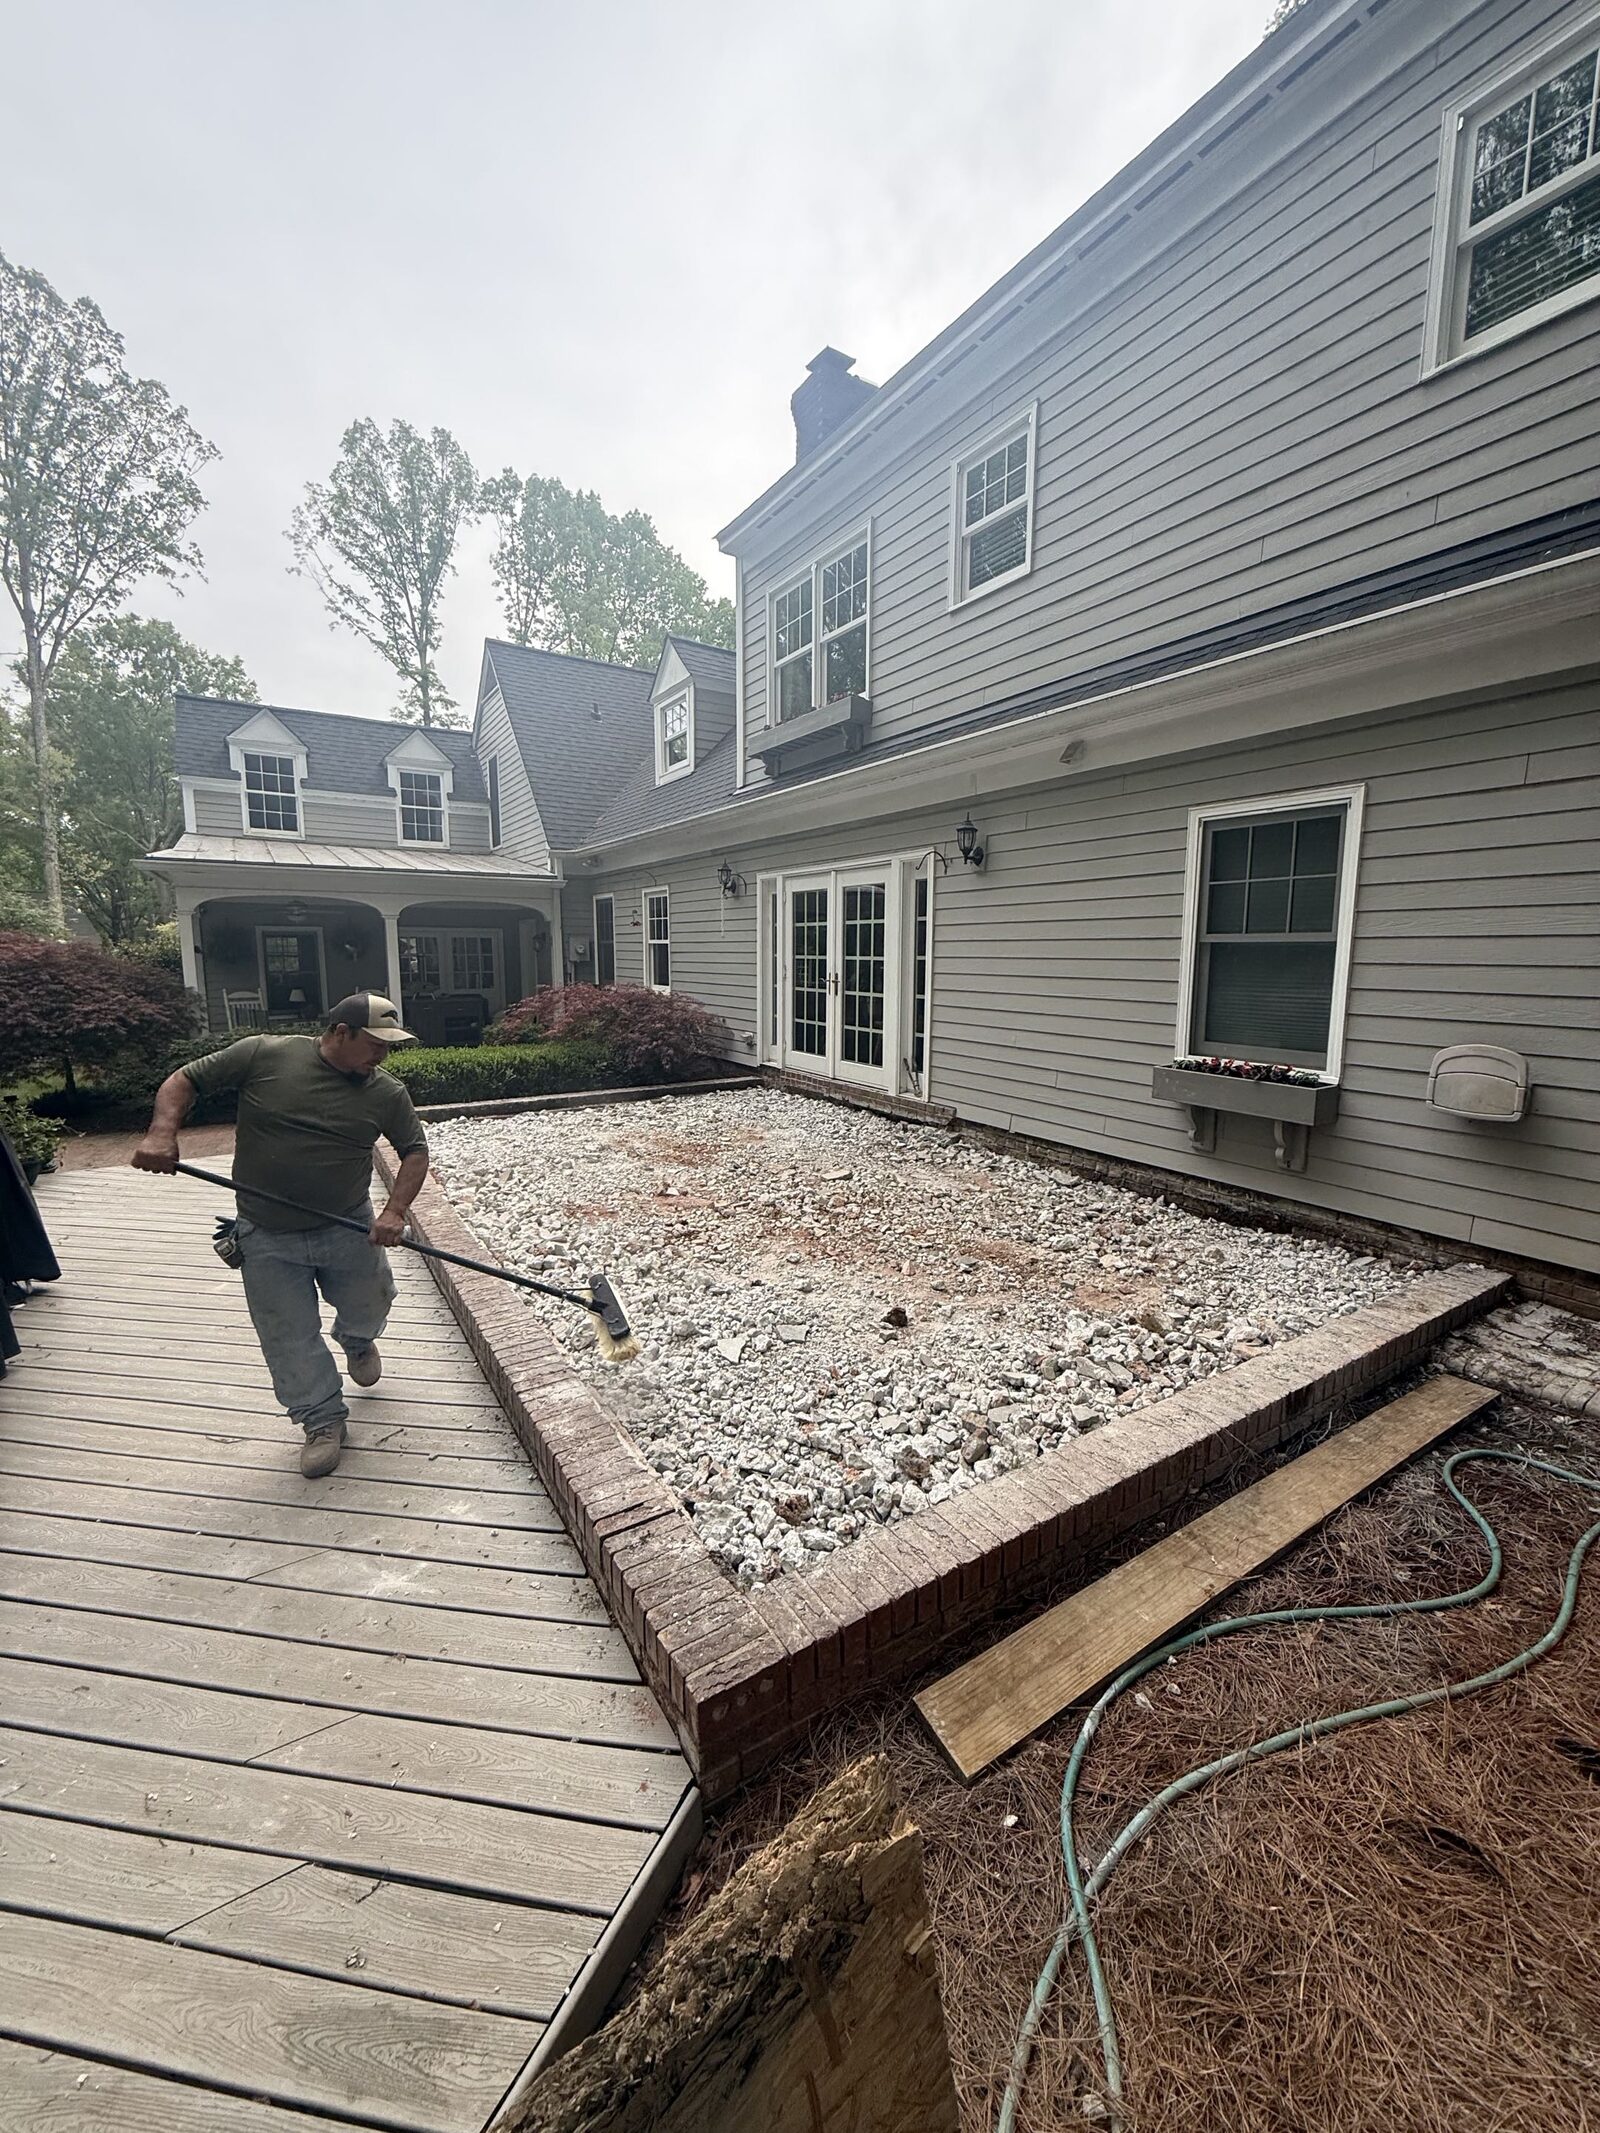
Backyard Patio
Full tear-out, new pour with brick-border detail
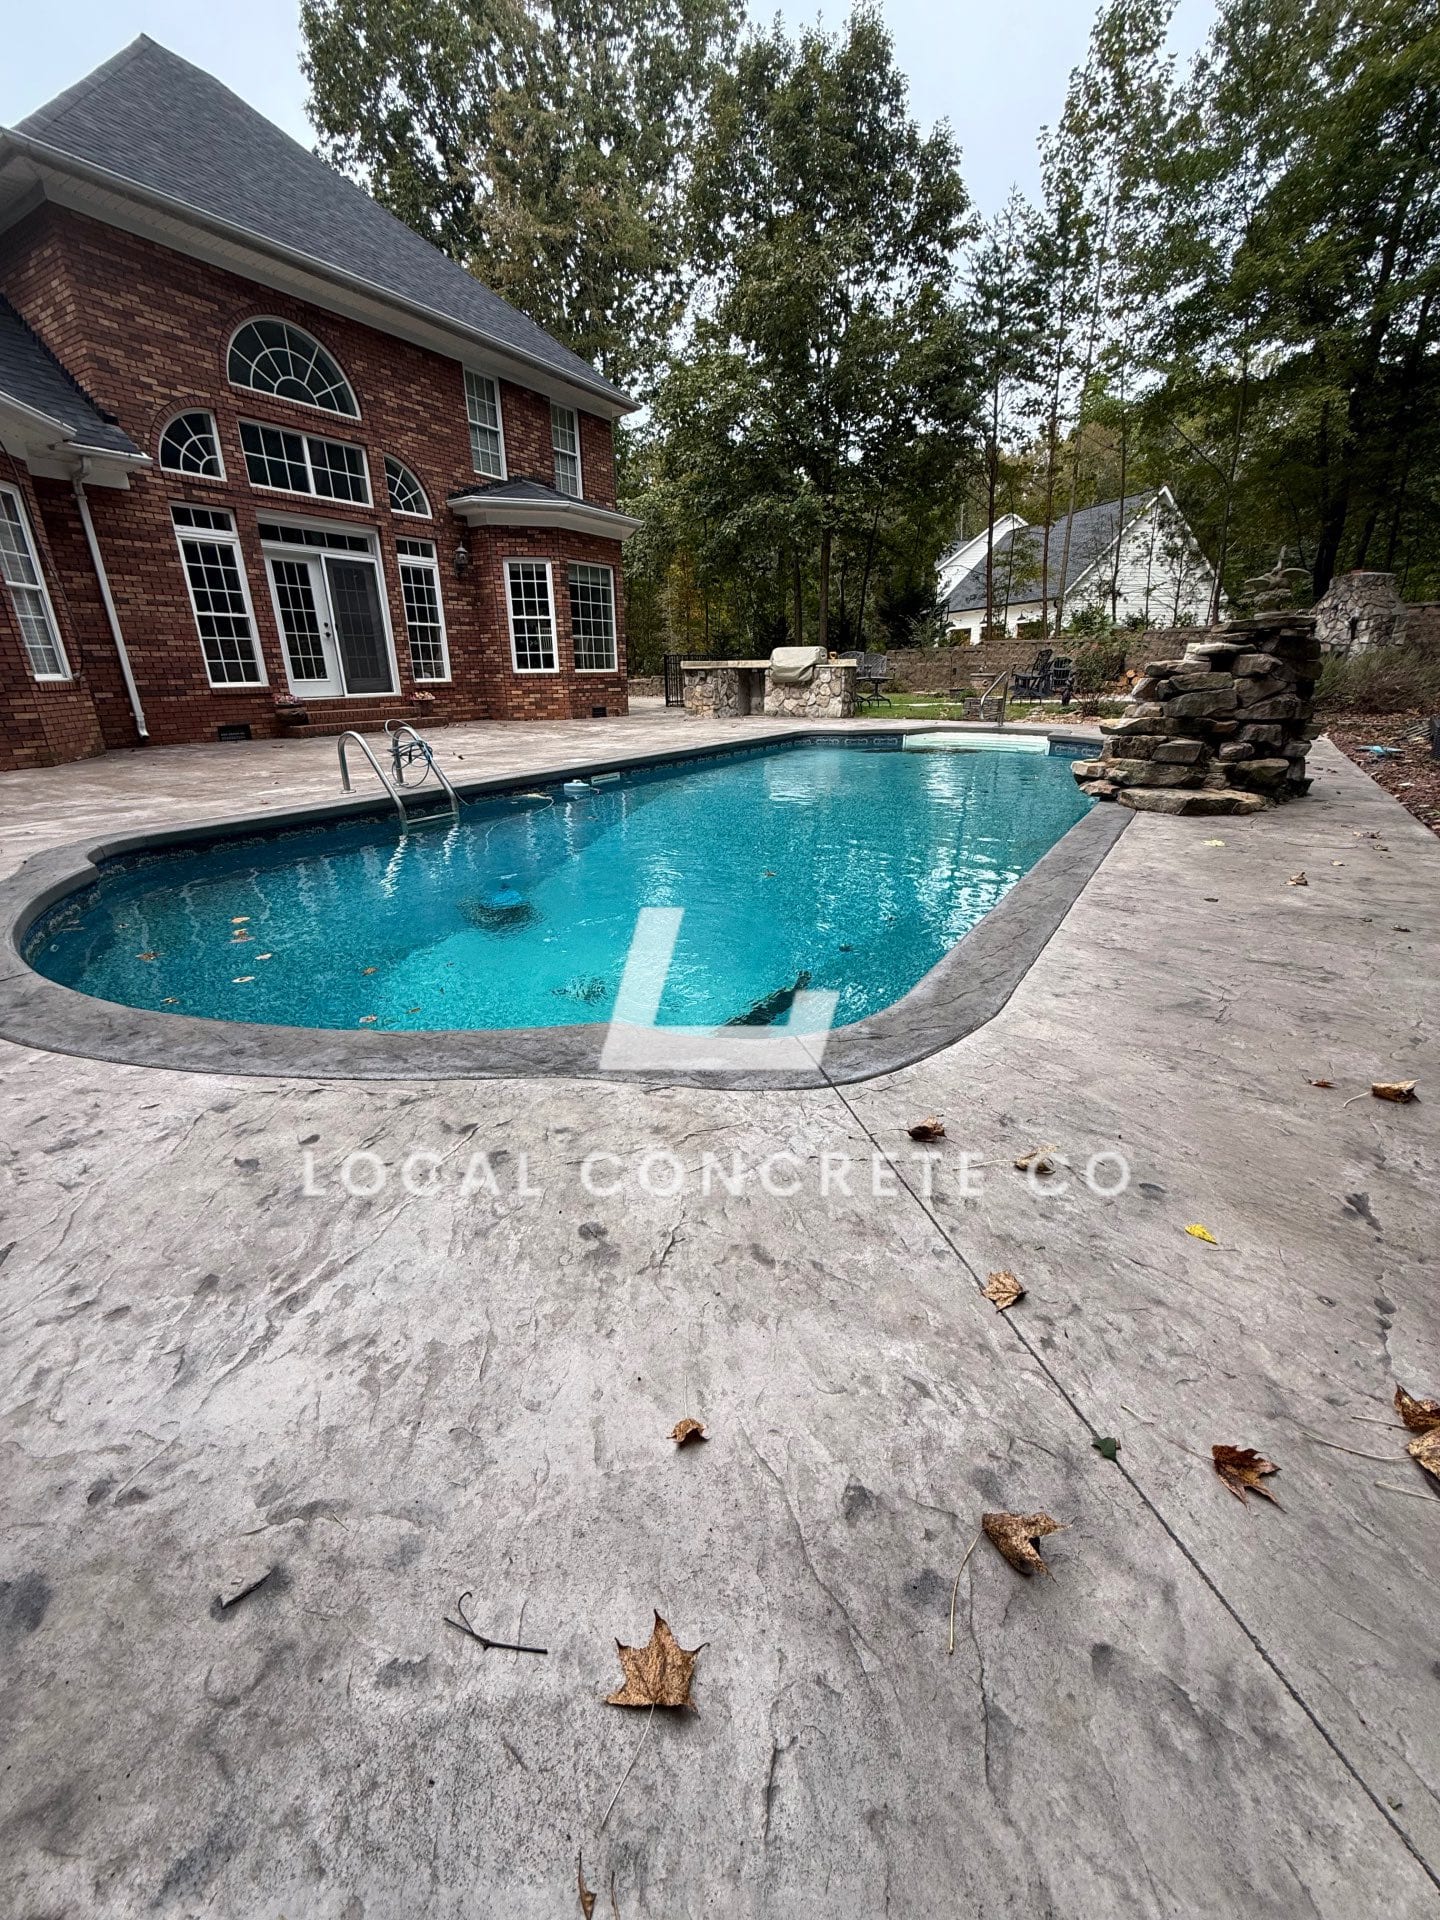
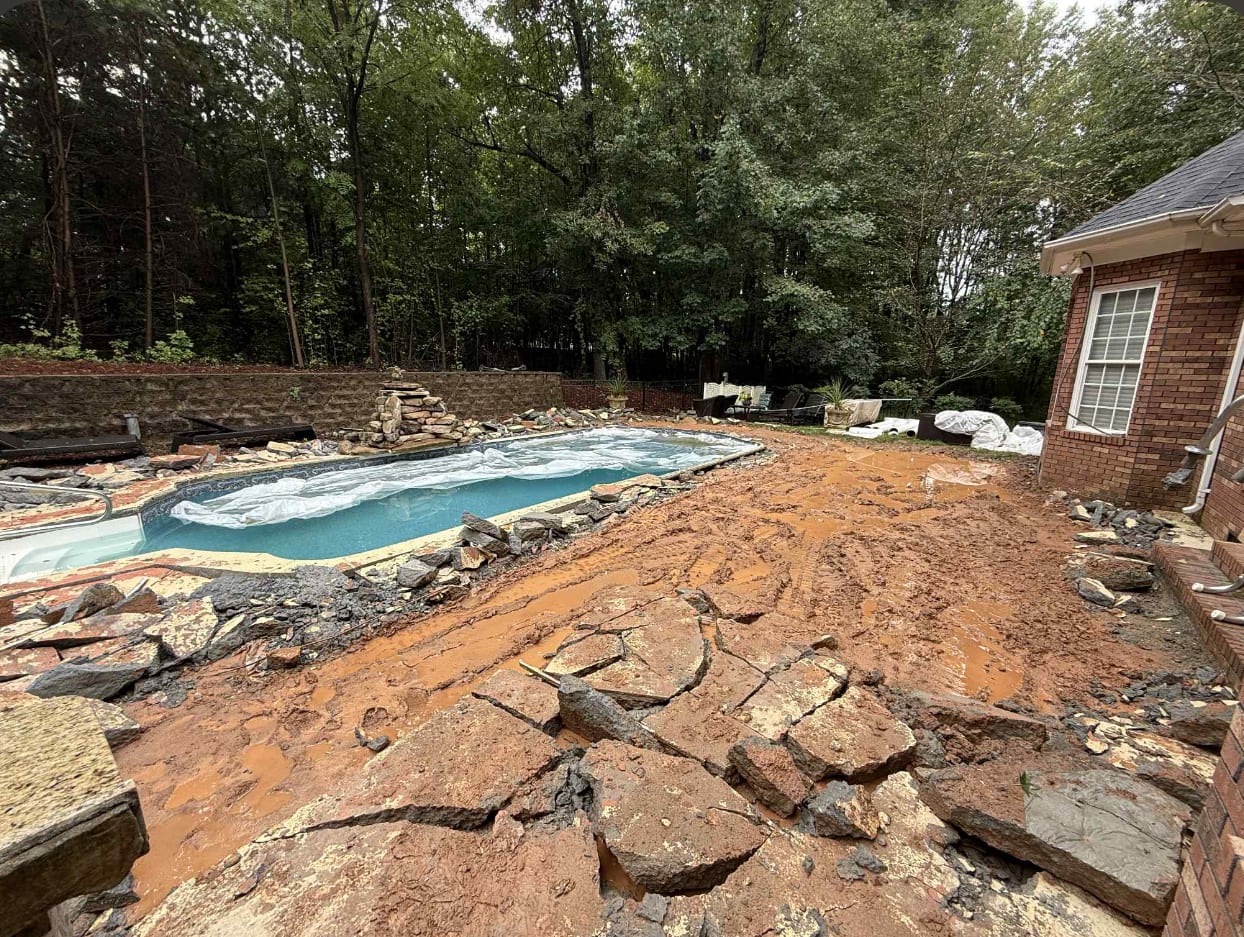
Stamped Pool Deck
Weathered deck replaced with textured stamped pour
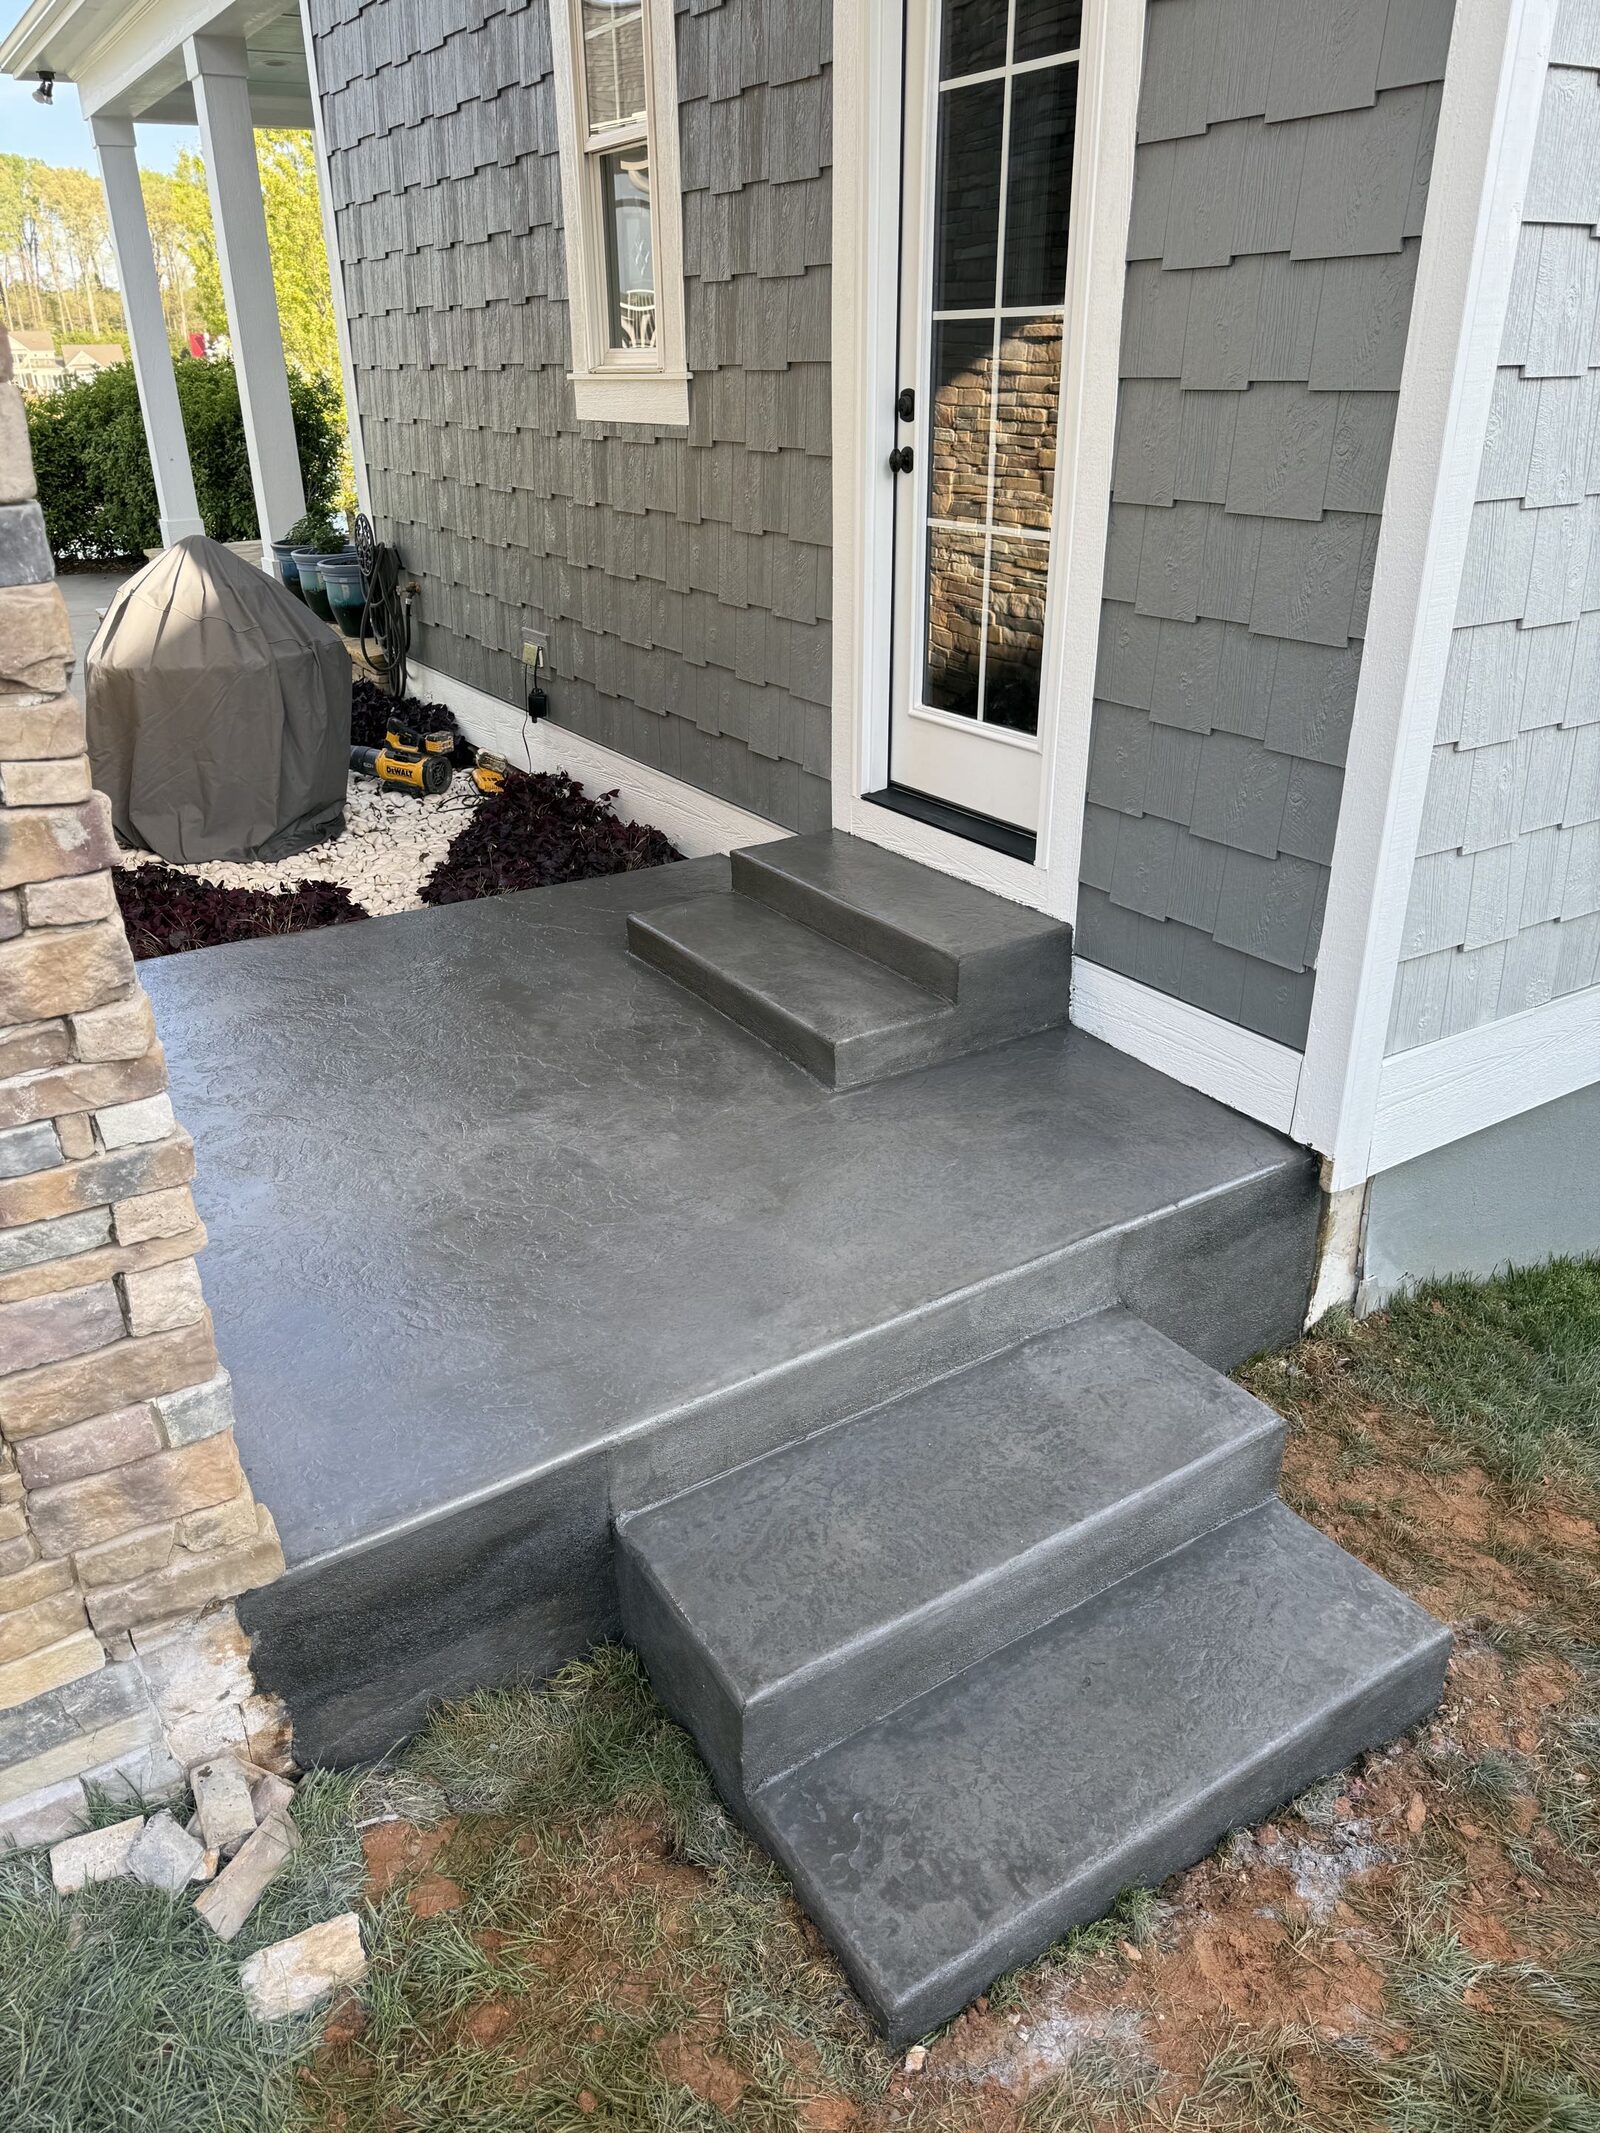
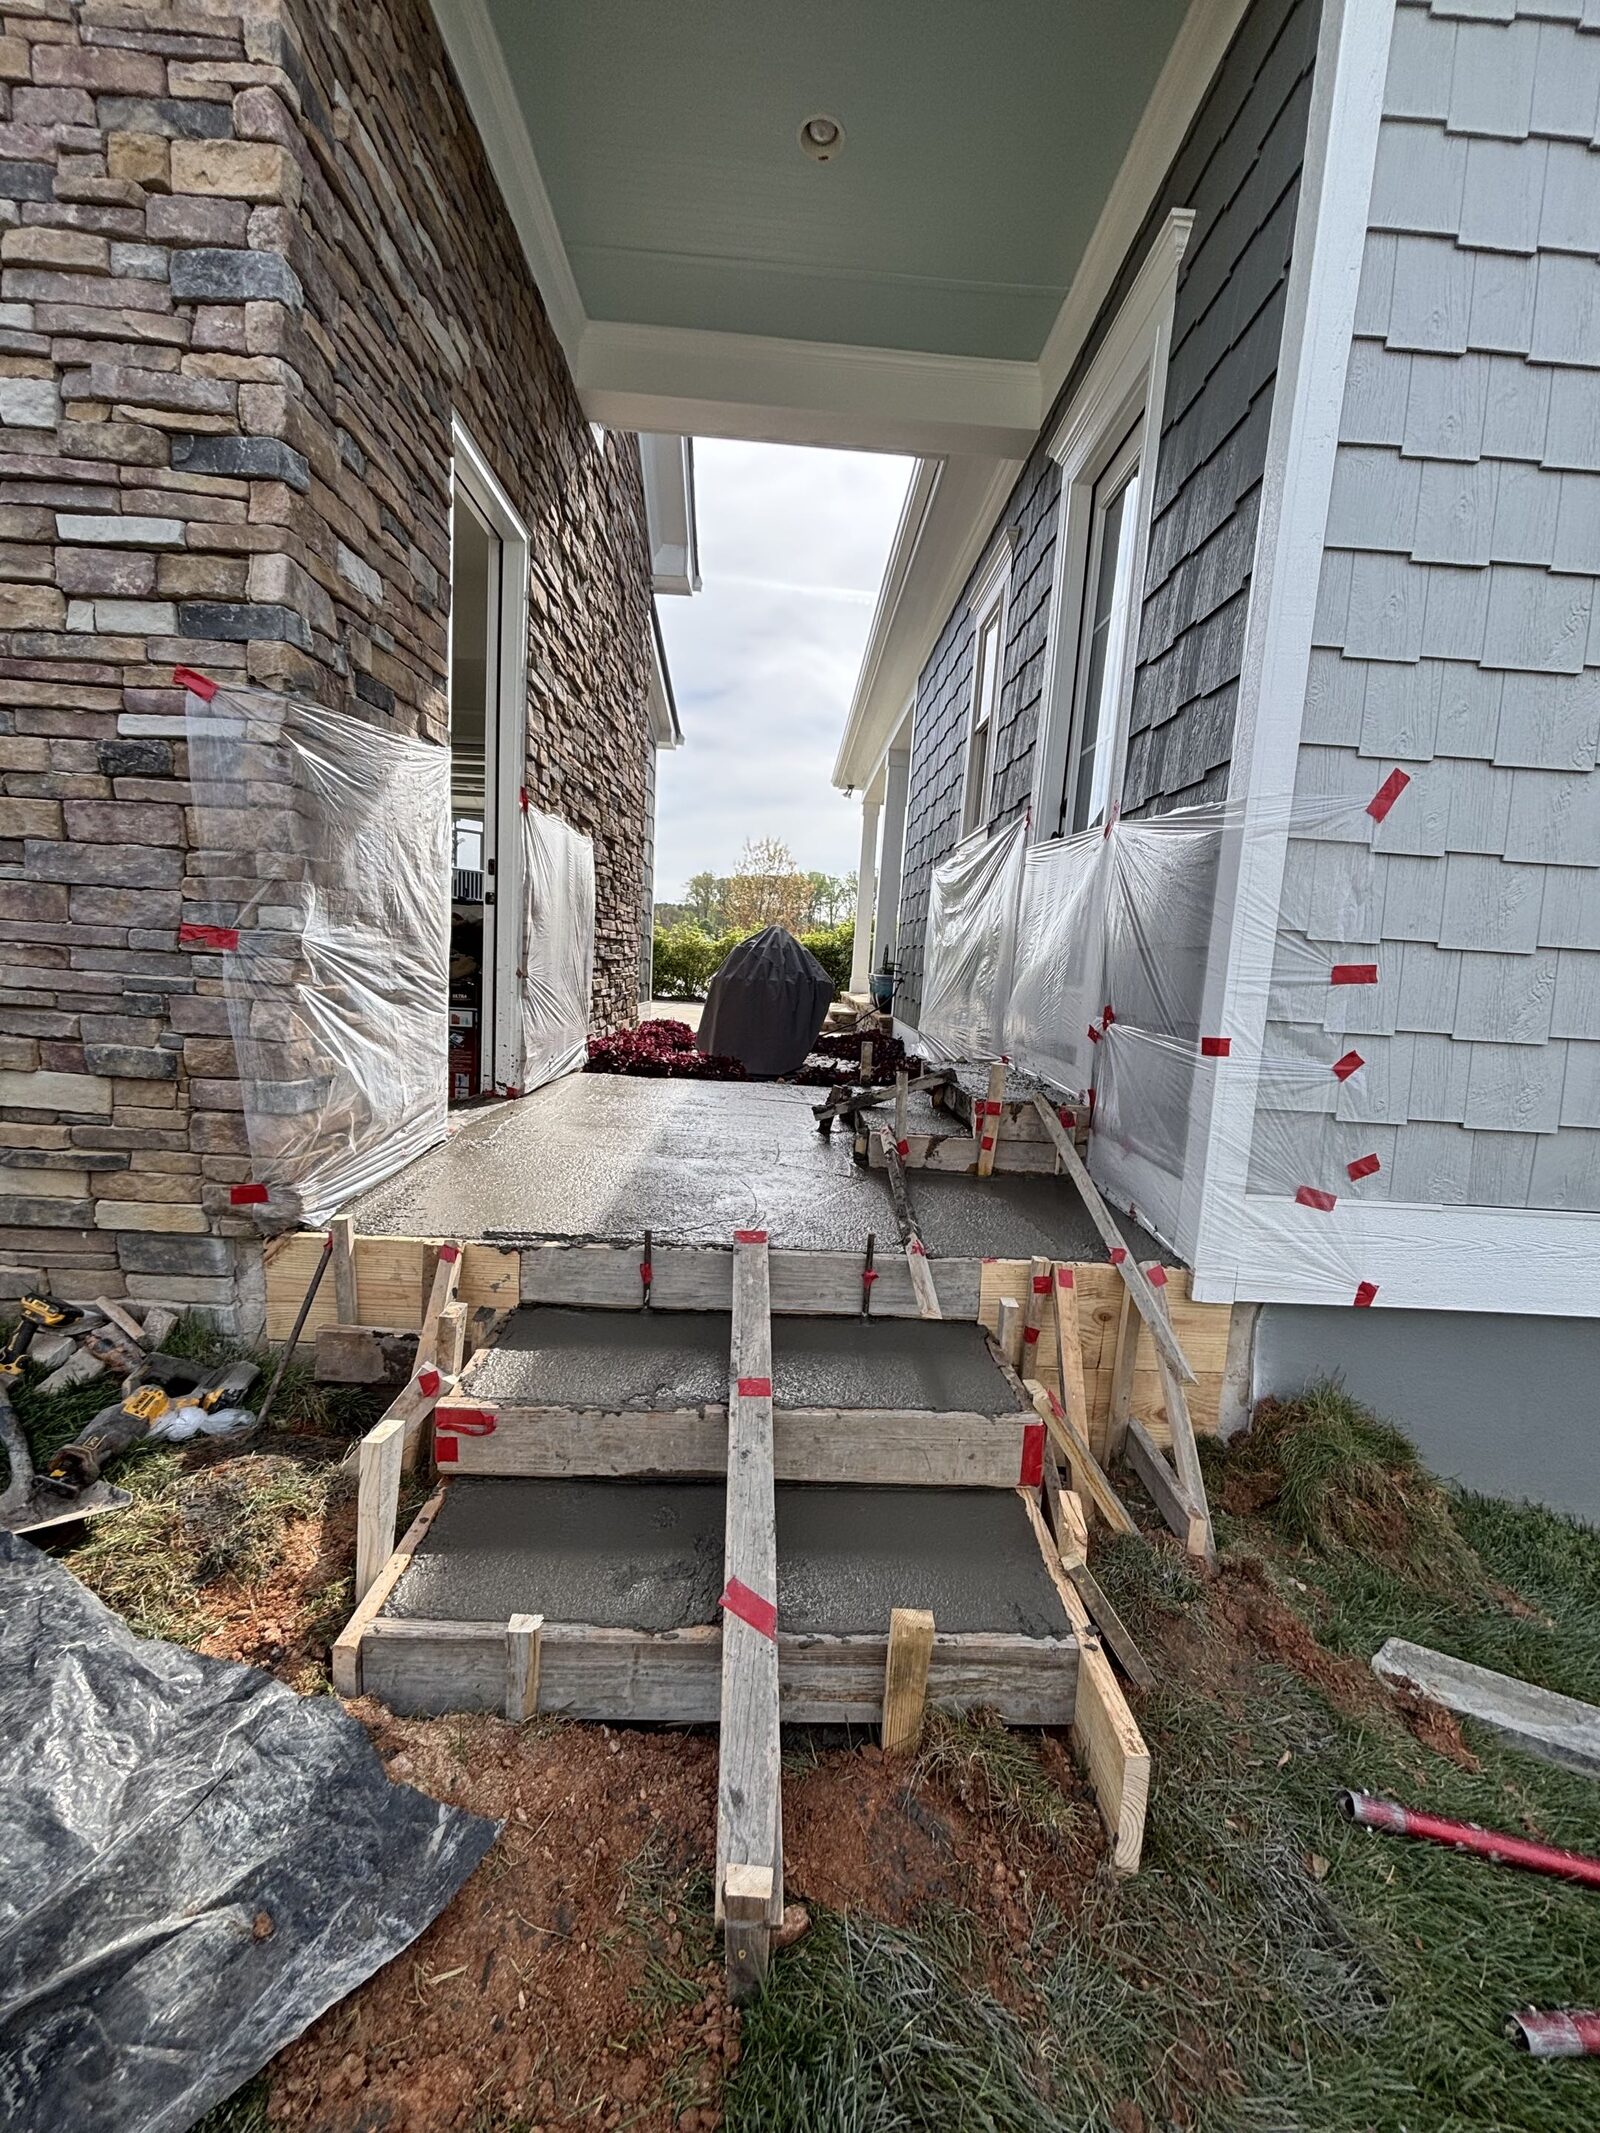
Front Porch & Steps
New entry pad plus poured steps to the door
Charlotte homeowners routinely underestimate how much slab a real hoop pad demands. The concrete has to take the repeated bounce of a ball hammering the same spot, carry the concentrated load of a heavy in-ground pole base, and hold flat for a decade through Piedmont summer heat and the handful of hard freeze cycles Mecklenburg and Union counties see each winter. When a court cracks up early, the trail almost always leads back to one of three things: a slab poured too thin, a hoop footing that was tied monolithically into the surrounding pad, or a base that never saw a real compactor. Regulation NBA half-court dimensions run 50 by 47 and a full court is 50 by 94, but backyard builds we pour across South Charlotte and the suburban ring cluster at three sizes: a 30×30 hoop pad, a 30×50 half court with a painted key, and a 50×60 half court with a real three-point arc — each with its own slab spec and hoop-mount detail.
Local Concrete Charlotte scopes hoop-pad pours from Ballantyne and Providence out through Matthews, Mint Hill, Weddington, and the Union County suburbs. Every job starts with a site walk covering rim orientation (long axis north-south so late-afternoon sun stays off the shooter's eyes), yard grade, drainage away from the house, subgrade condition in the local red clay, hoop location relative to the sight lines, tree-canopy interference from mature oaks, and the surfacing plan — modular sport tile, poured acrylic coating, or a bare broom-finish court all share the same slab spec but change the finish handoff. Before the excavator shows, you get a written spec covering pad dimensions, slope, base build, thickness, reinforcement, joint pattern, hoop-footing detail, and finish. Nothing up front, and the invoice reads item by item so there is no guessing on scope.
Basketball Court Slab Sizes and Specs We Pour
Sizing the pad is a balance between the game you want to run and what the lot will actually accommodate — a Myers Park backyard hemmed in by mature trees plays very differently from a two-acre Weddington lot with room to spare. Locking the slab spec to the size and play pattern is what keeps a court playing like a real court instead of spider-cracking into year three.
- Hoop pad — 30×30 (900 SF), fits one rim with a legitimate free-throw shooting zone and enough footprint for casual one-on-one
- Backyard half court — 30×50 (1,500 SF), sized for a painted key, a three-point line, and grown adult play
- Regulation-style half court — 50×47 (2,350 SF), matches full NBA half-court measurements including the arc, painted key, and complete baseline strip
- Small full court — 50×74 (3,700 SF), a trimmed high-school-style two-basket setup
- Regulation full court — 50×94 (4,700 SF), NBA and college dimensions end to end, generally reserved for HOA or club builds
- Driveway-conversion court — an existing drive extended or repoured until it meets court measurements
- Multi-sport pad — hoop lines combined with pickleball striping on a 30×60 or 34×64 footprint
Every pad we set shares the same underlying spec: 5-inch minimum thickness (6 inches on any court running a full in-ground hoop base embedded through the slab), 4,000 psi mix, #4 rebar on 16-inch centers, sawcut control joints on a 12×12 grid, 1% slope in one direction for drainage (across the pad, never toward the hoop-side sideline), a broom or steel-trowel-then-broom finish depending on the surfacing plan, and cast-in-place hoop footings poured before or during the slab pour.
Base Prep, Drainage, and Why Most Courts Crack Early
The number-one killer of hoop pads across the Charlotte metro is what sits under the slab. Pour on unimproved Piedmont clay or on a token 2 inches of loose stone and settlement cracking shows up before the first summer is out — and the concentrated weight of a full-size in-ground hoop base amplifies the damage, sinking the slab unevenly right around the pole before it does anywhere else on the pad.
Our base spec: strip 8-10 inches of topsoil, compact the subgrade to 95% Proctor, install and grade 4-6 inches of #57 washed stone as a drainage layer, compact again in 2-inch lifts, then pour on top. Under the hoop footprint specifically the stone base gets deeper (6-8 inches) because a full-size in-ground hoop with a 4×4×48-inch anchor puts a serious point load on that one spot every time the rim gets used.
Drainage direction is not negotiable. The pad has to fall 1% (about 1 inch of drop over 8 feet) in one chosen direction so water runs off. Slope it toward the hoop and you get a puddle sitting on the free-throw line every rainstorm; leave it dead flat and standing water at the low spots eats the finish. Perimeter drainage — a French drain along the low side, or at minimum a graded swale carrying water 10 feet clear of the pad — is what keeps the base dry across our wet spring stretches and afternoon thunderstorm season.
Get your free quote
We respond in less than 2 hours.
Why Local Concrete Charlotte?
- 01.Charlotte-metro crews, one trade
- 02.Line-item pricing, nothing hidden
- 03.One foreman from bid to walkthrough
- 04.Pay after the pour, never before
Our Concrete Installation Process
Every basketball court we pour runs through the same 18 checkpoints — from the on-site consult through the final walkthrough.
Consultation & Estimate
A crew lead walks your Charlotte-metro pad, shoots laser measurements across the footprint, notes tear-out volume plus pump-truck approach from the curb, and drops a fixed all-in bid in your inbox by the next business day.

Logistics & Scheduling
Crew calendar, pump availability, and Piedmont radar all get cross-referenced before your pour date locks in. Any front tracking through the 485 corridor inside a 48-hour window triggers a proactive reschedule call — never a rain-day gamble.
Custom Mix Design
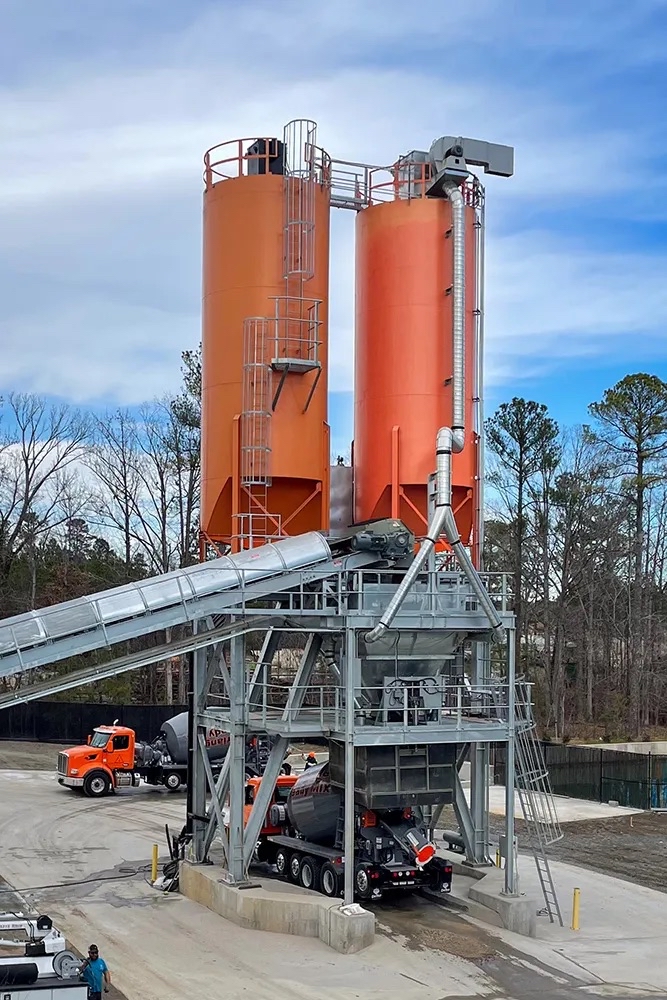
Charlotte summers push 91F and the region sees 22 freeze-thaw cycles a year — both demand different mix chemistry. The batch plant hears from us the afternoon before with air-temp targets, slump range, retarder dose, and entrained-air percentage dialed in.
Site Preparation
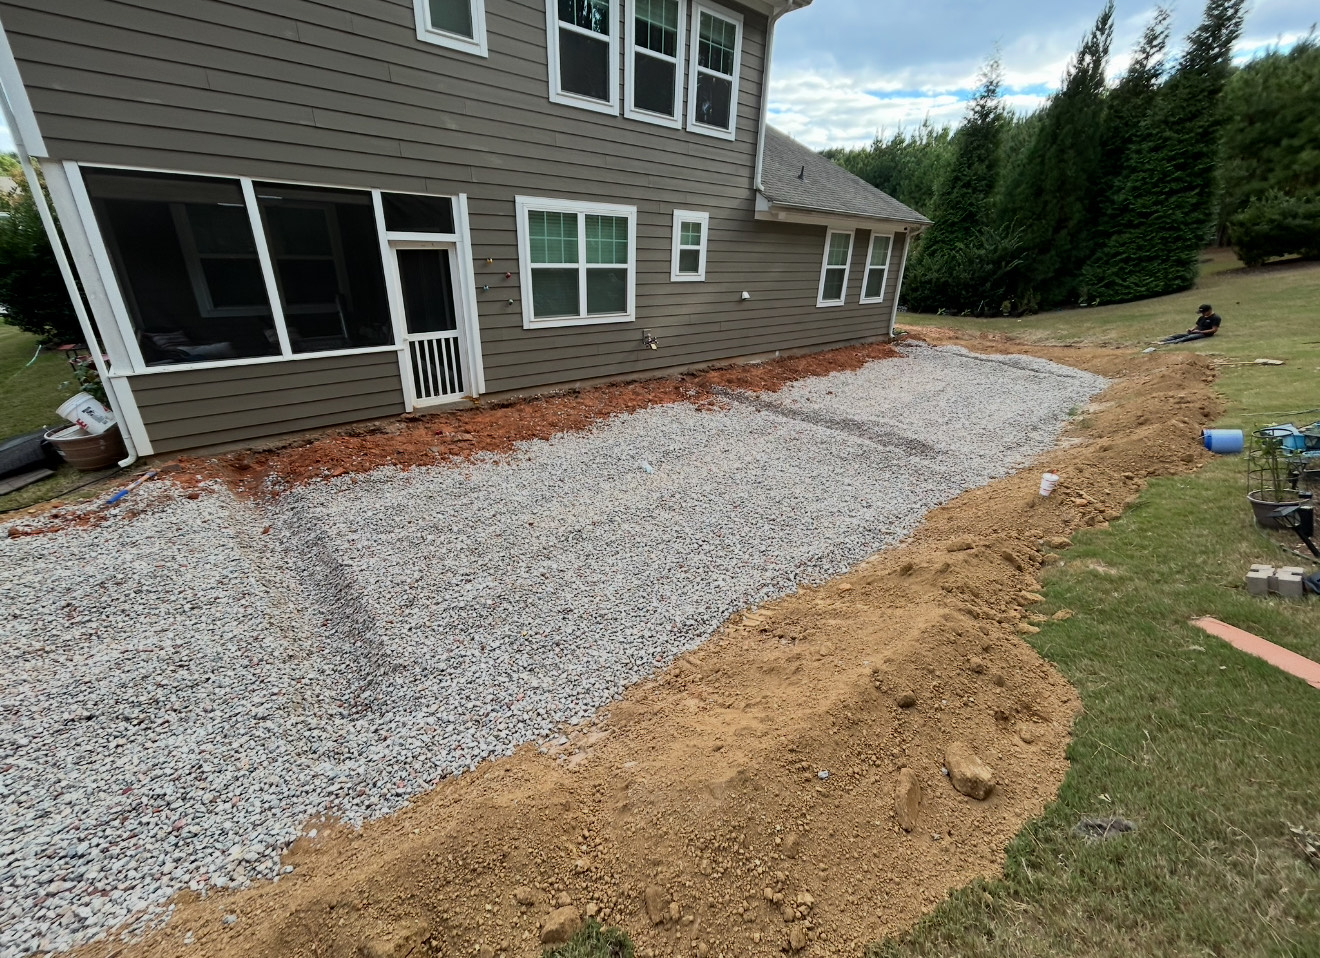
Three-quarter-inch plywood gets staged over any turf the pump line crosses, ornamental beds around the pad get tarped, and the pump driver confirms his Mecklenburg approach route with the foreman before wheels touch the drive.
Demolition
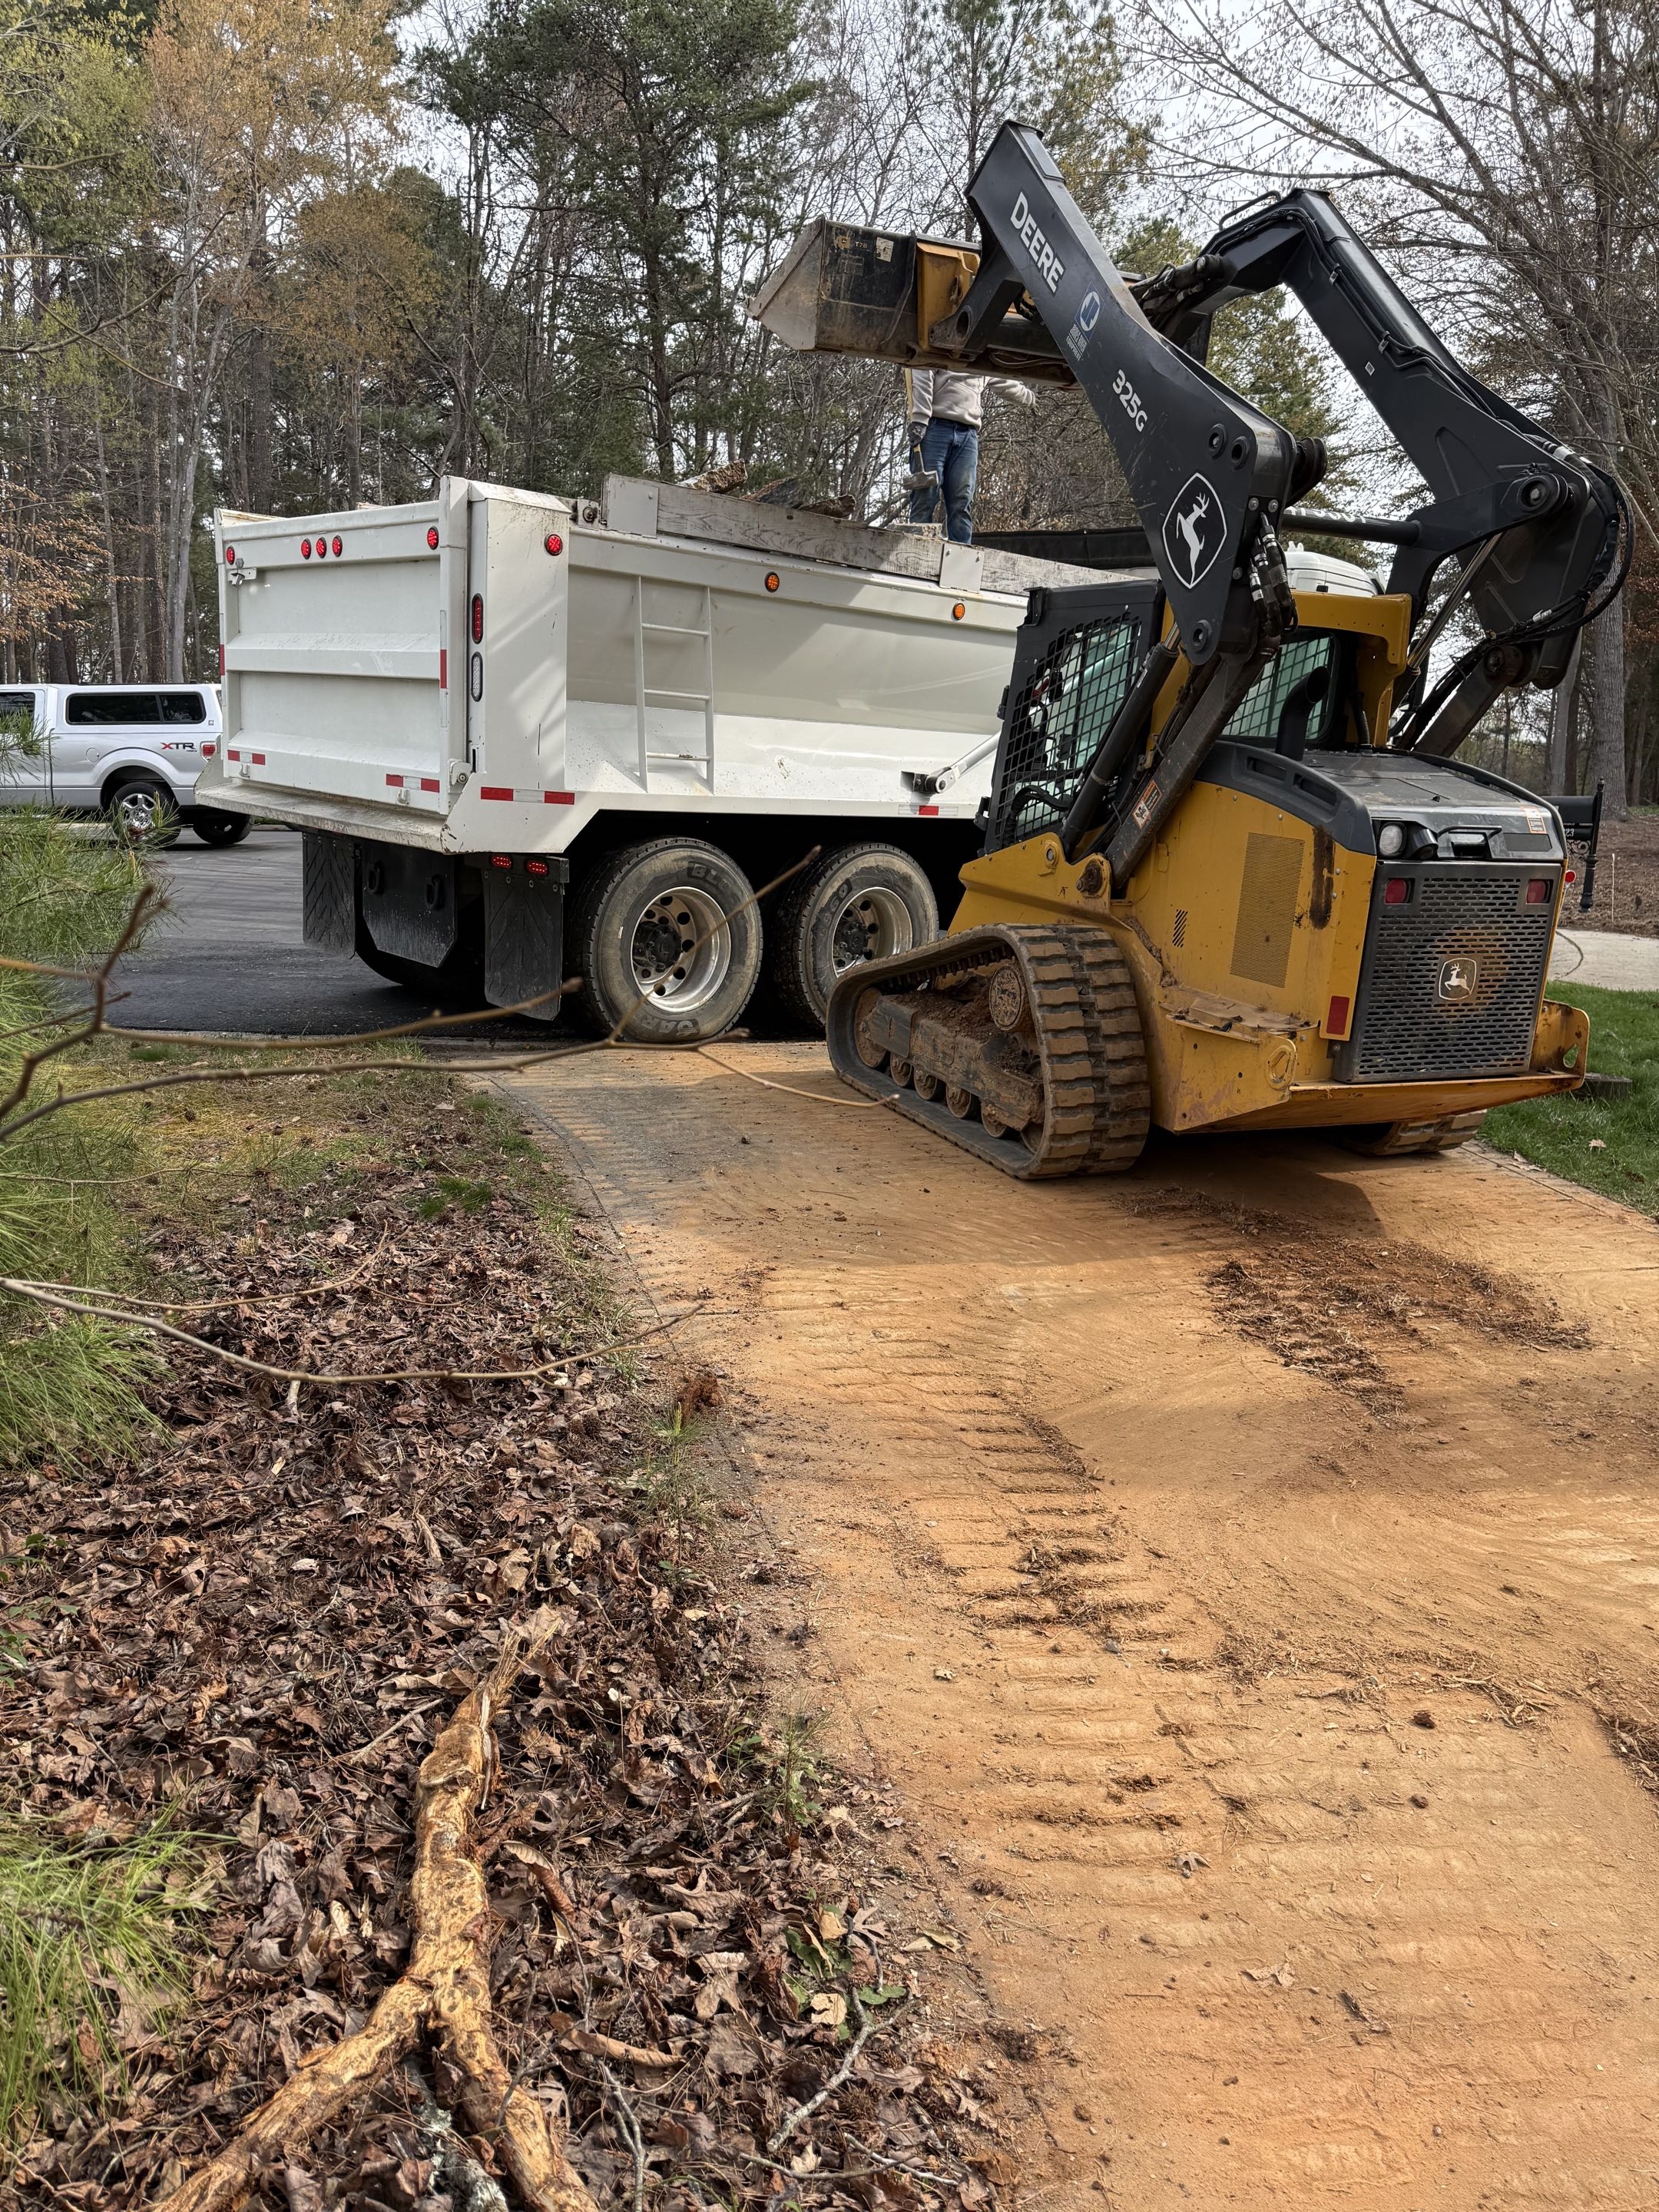
Anything under six inches gets broken up by hydraulic hammer; reinforced sections get saw-cut into panels and pried out. A skid-steer loads every fragment straight into the dump truck — no rubble pile lingering on your property overnight.
Grading & Forming
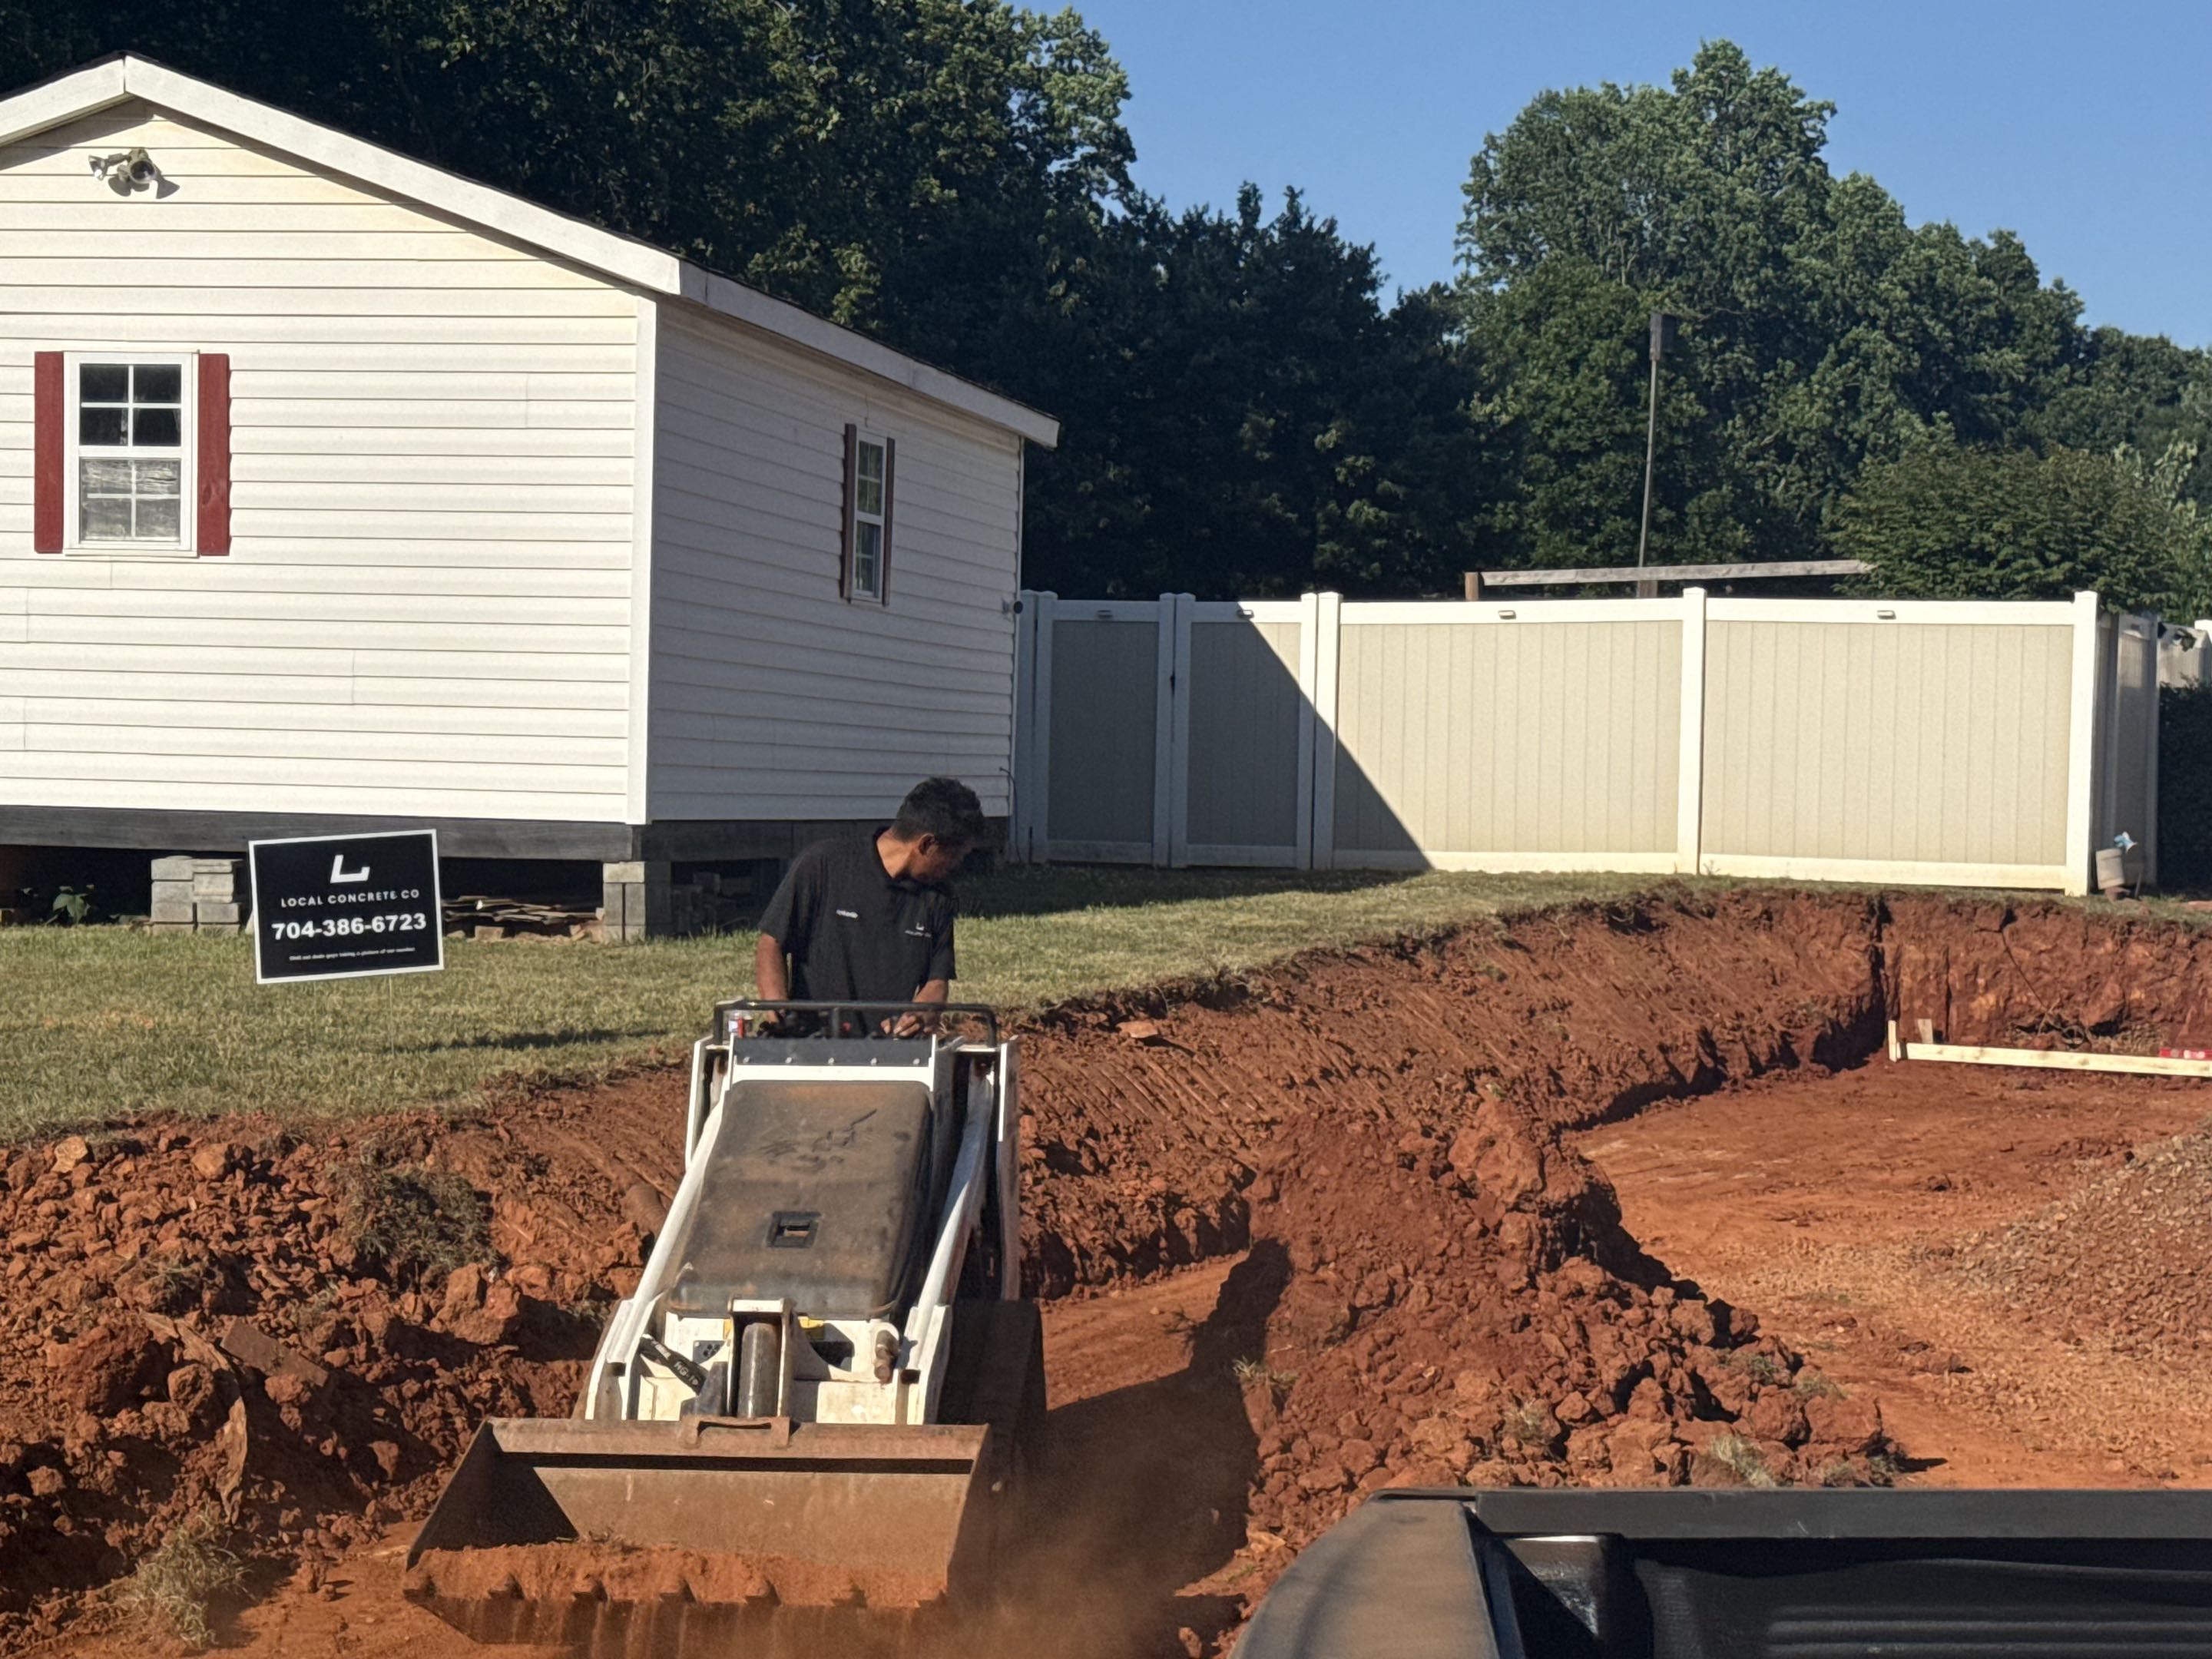
A compacted #57 stone base of four to six inches goes down in two lifts on every subgrade — critical over Piedmont red clay, which swells wet. Laser confirms a minimum 1/8-inch-per-foot fall away from the foundation, then 2x forms stake off at 32-inch centers.
Reinforcement
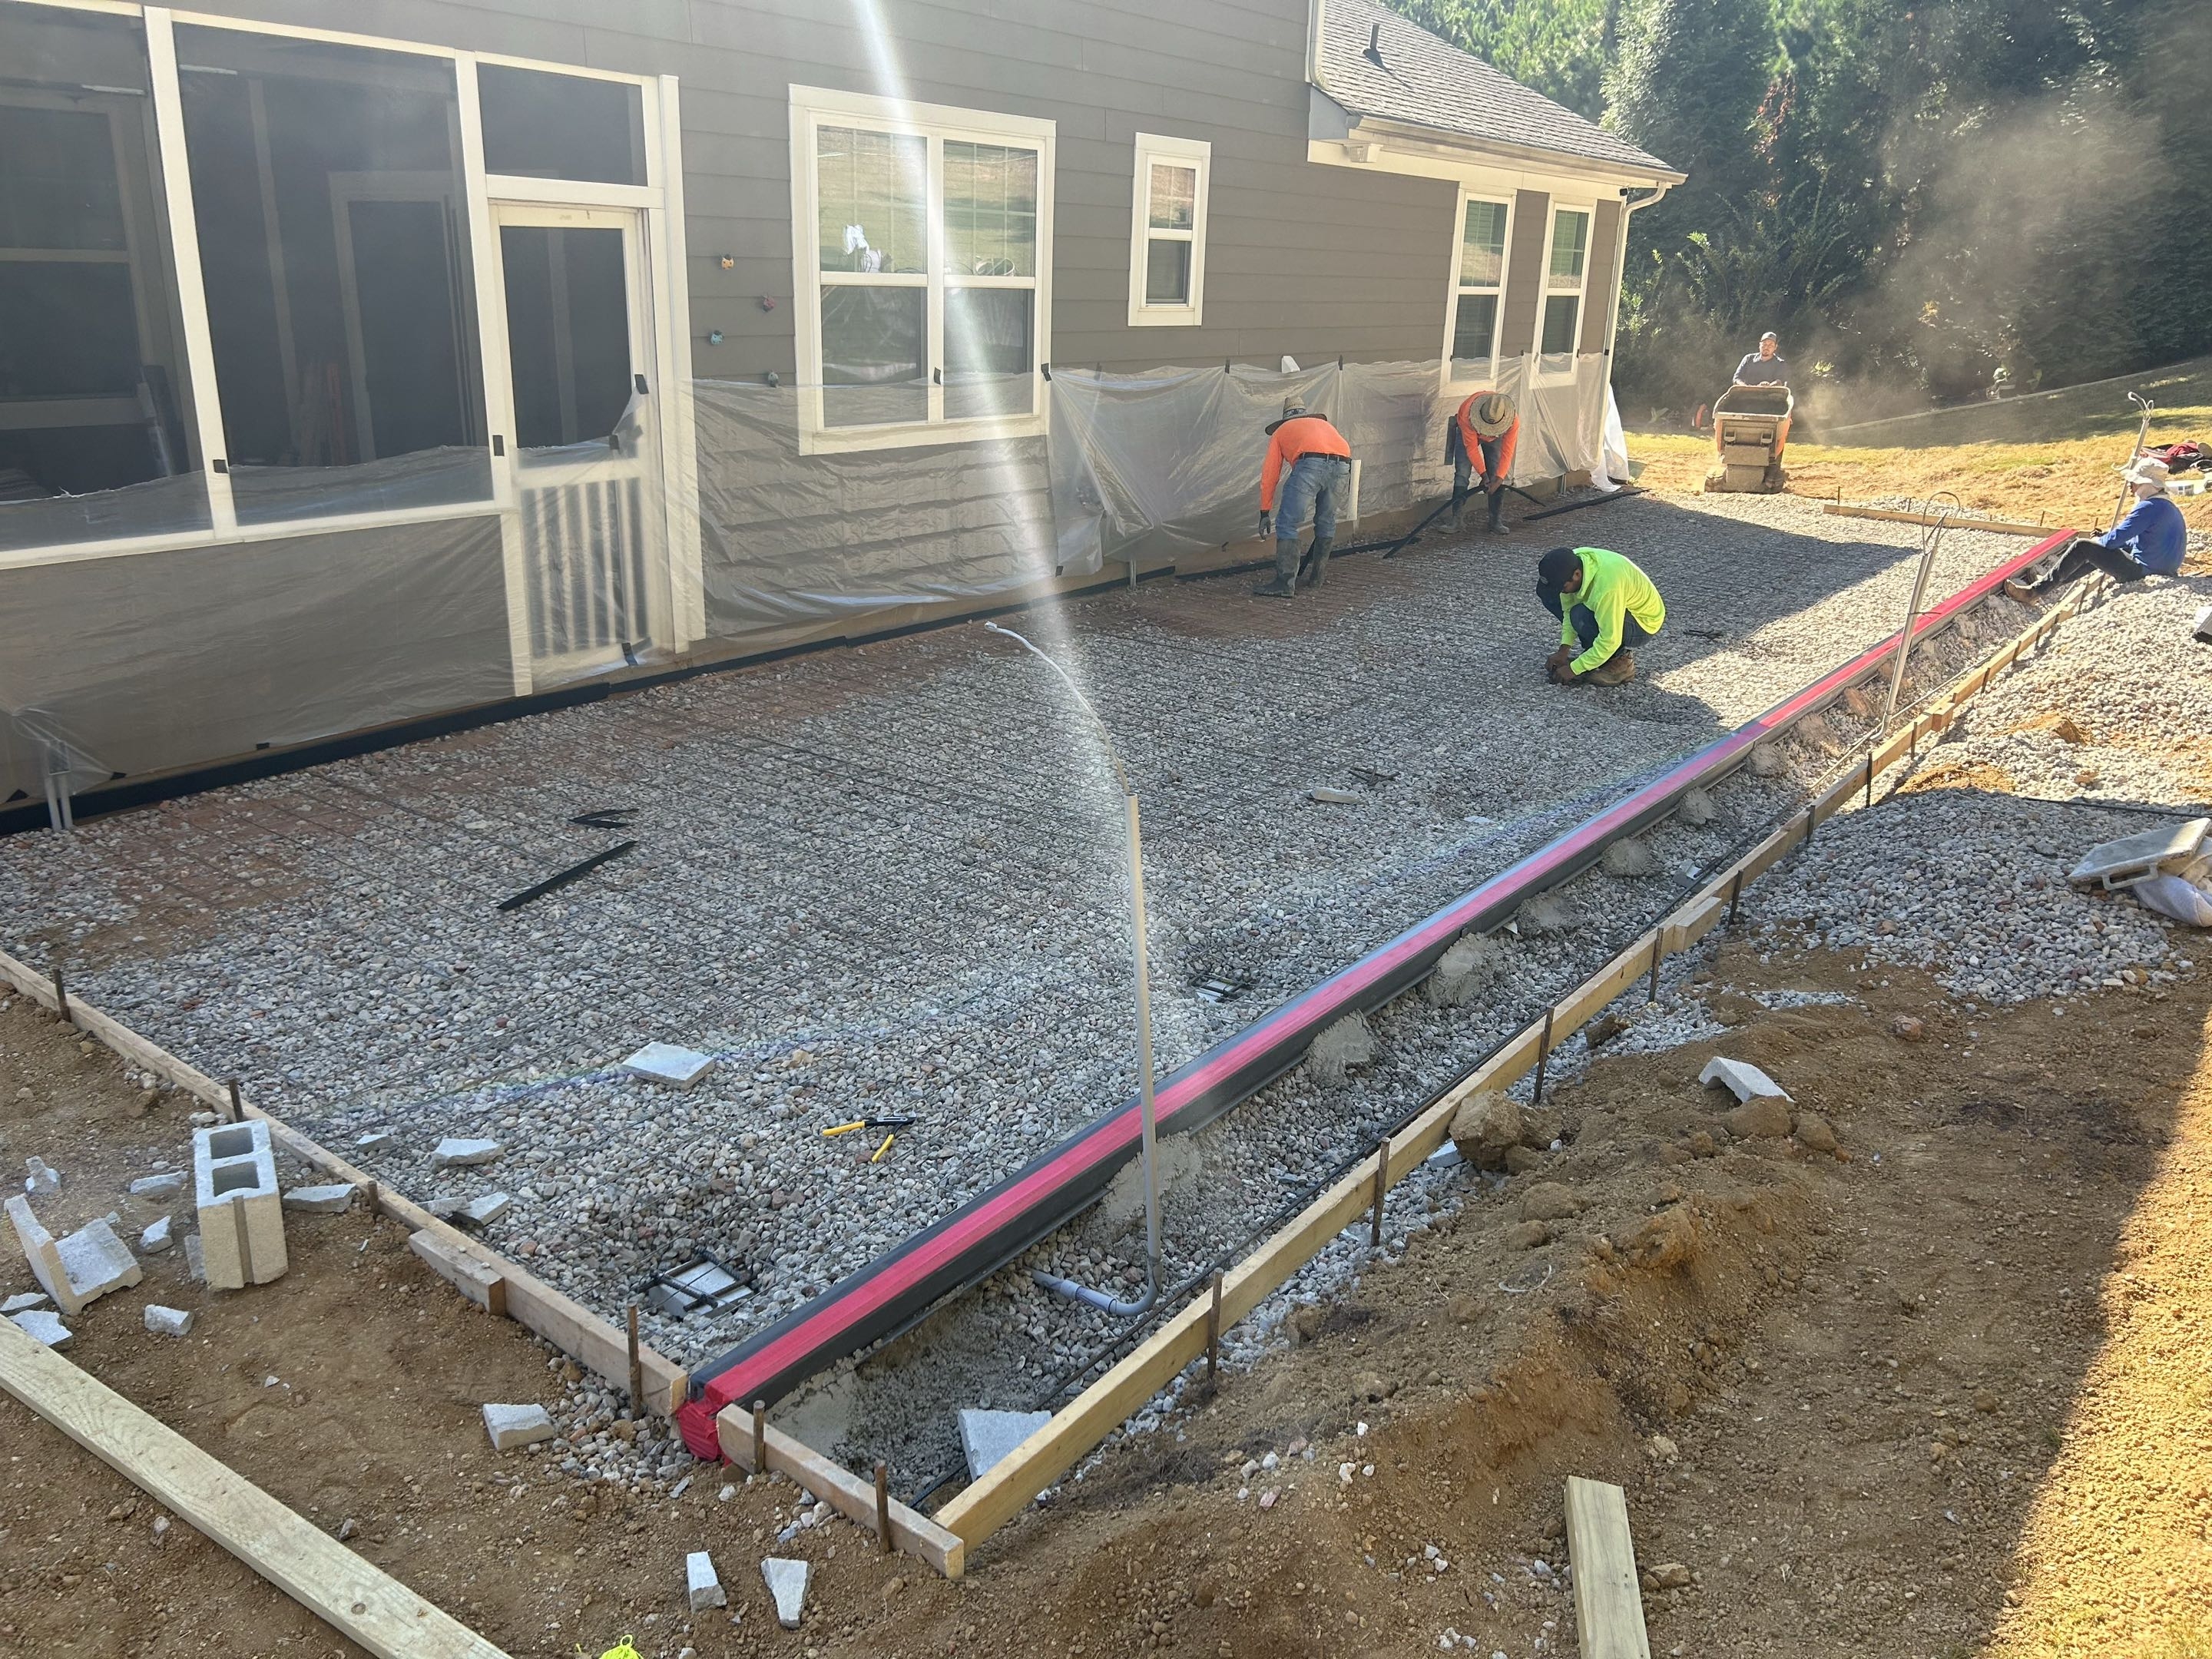
Grade-60 #4 rebar ties on 18-inch centers into a full grid, seated on chairs so the steel actually rides mid-slab where tension loads live. Red-clay shrink-swell chews through wire mesh in this region — we stopped installing mesh after enough callbacks to know better.
Pre-Pour Inspection
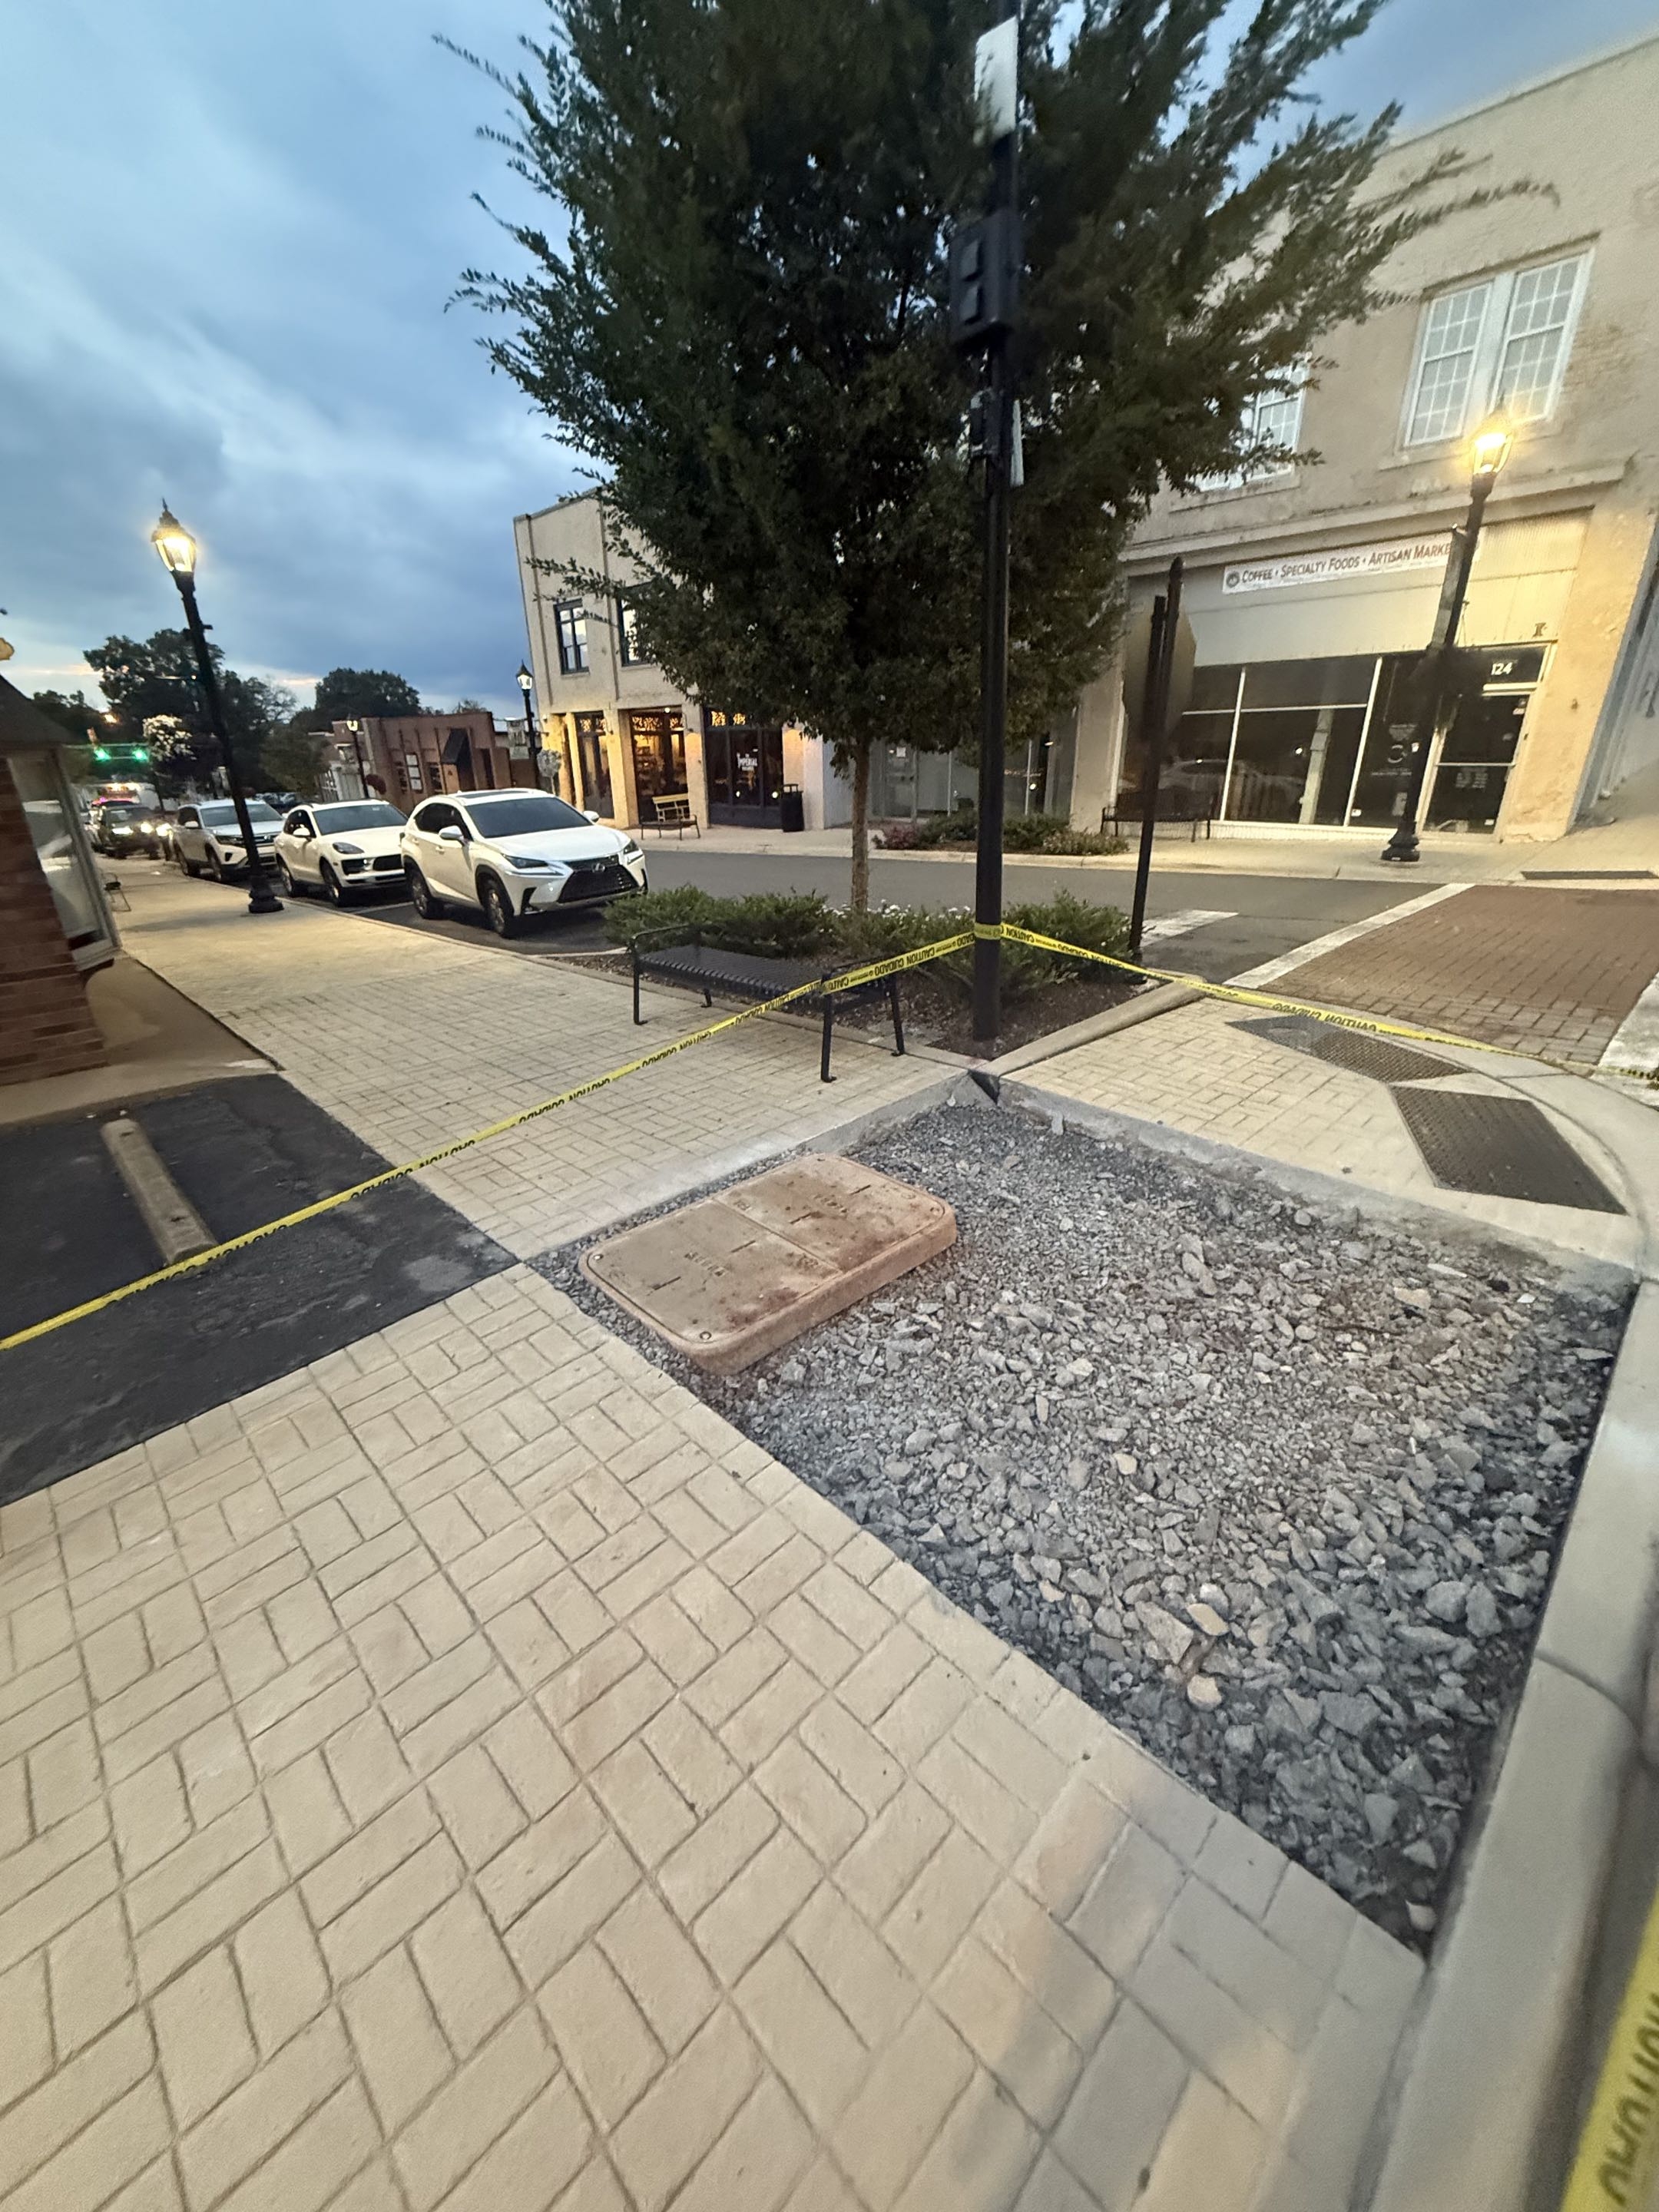
You and the foreman walk the formwork together — form elevations rechecked with the laser, rebar count photographed for the job file, drainage pitch verified end-to-end. This is the last window to catch anything before post-pour changes turn into demo invoices.
Slump Testing
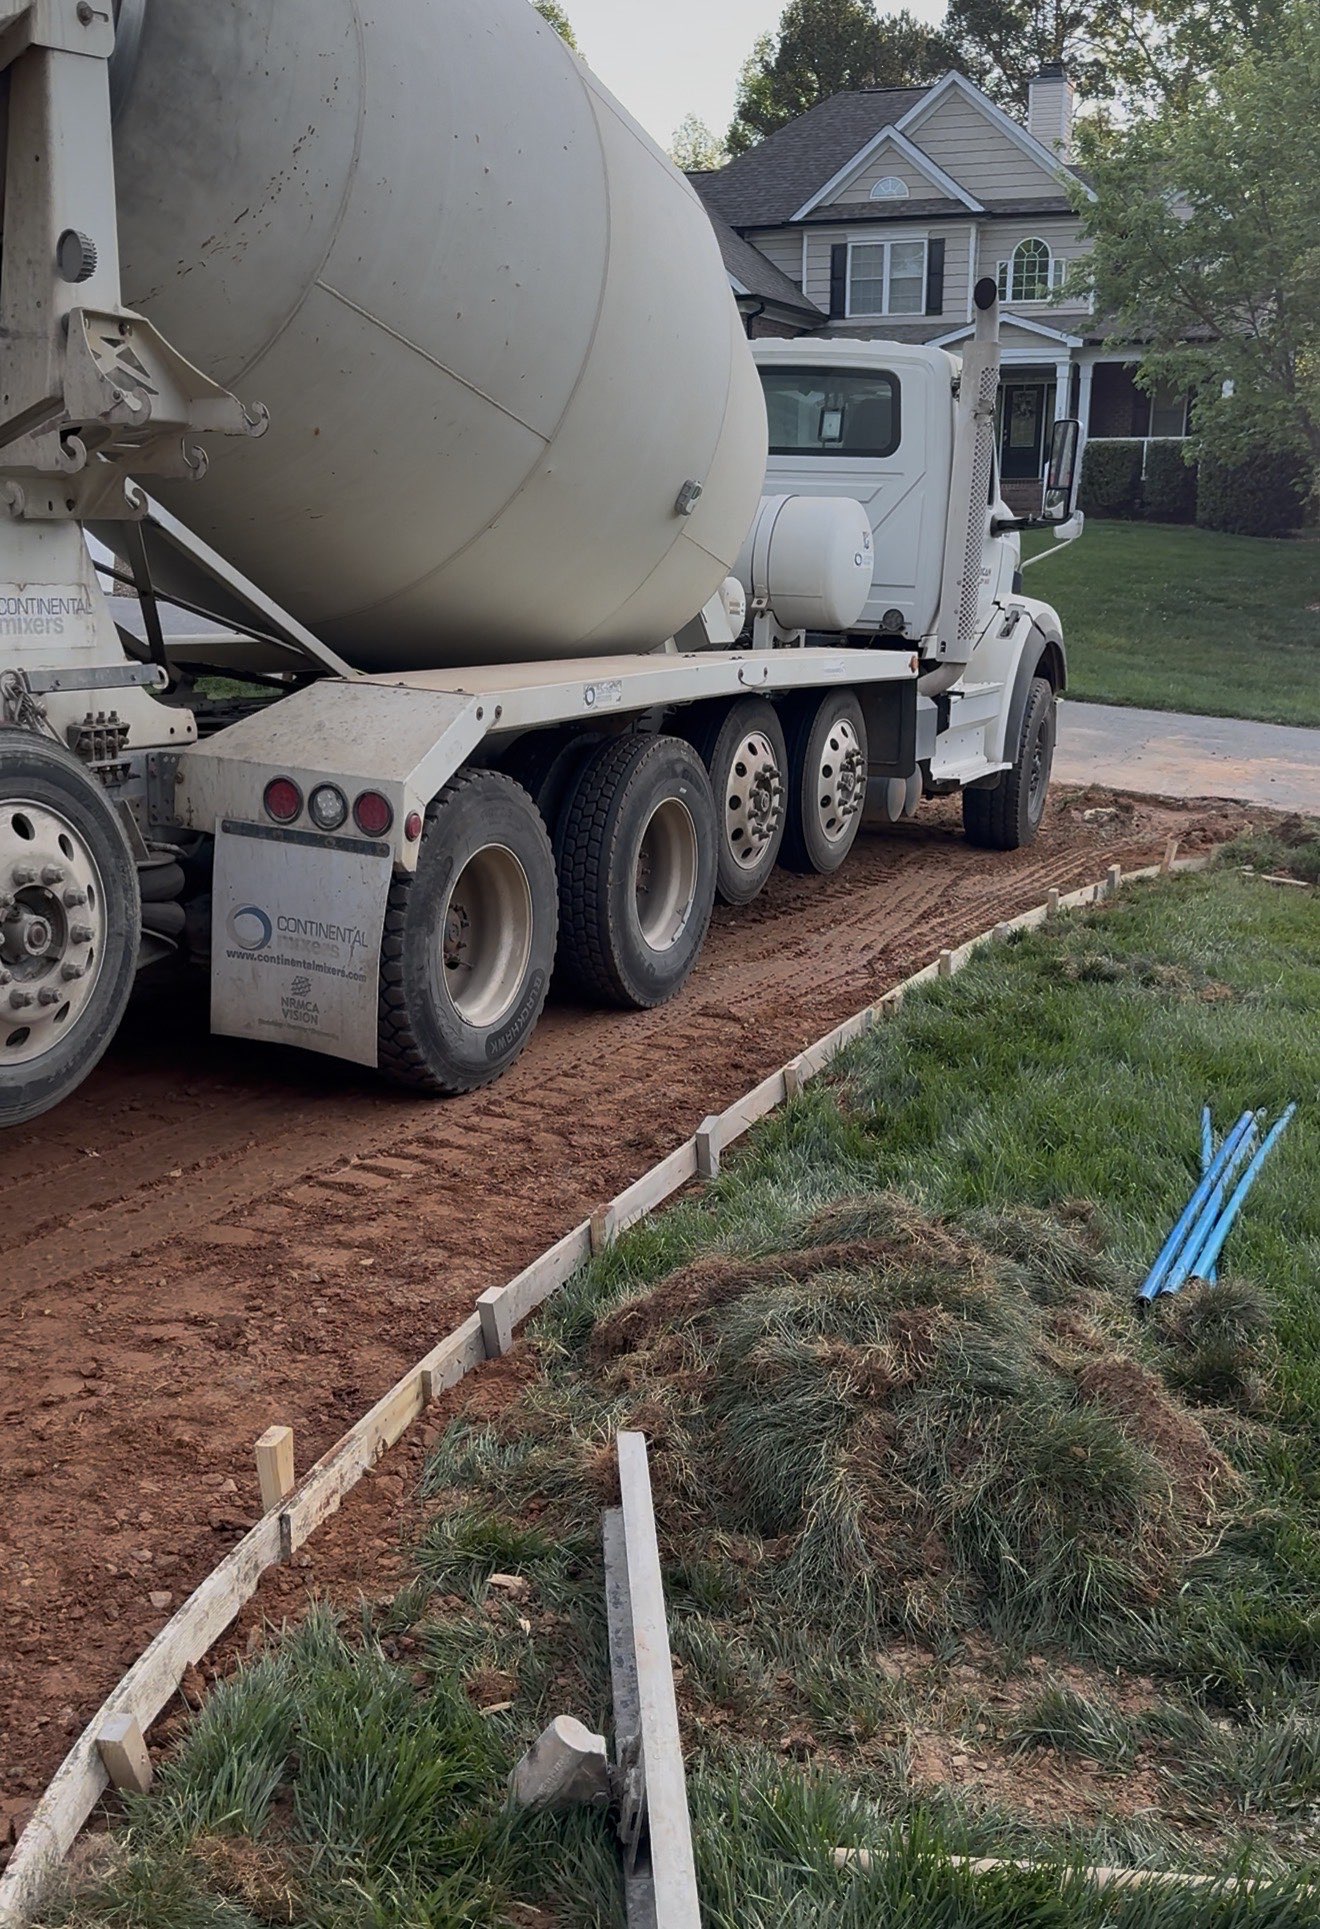
Every truck arriving gets its first yard cone-tested against the mix ticket before anything moves further down the chute. Numbers outside spec send that truck back to the plant — the pour waits, the slab never inherits a compromised batch.
Placement
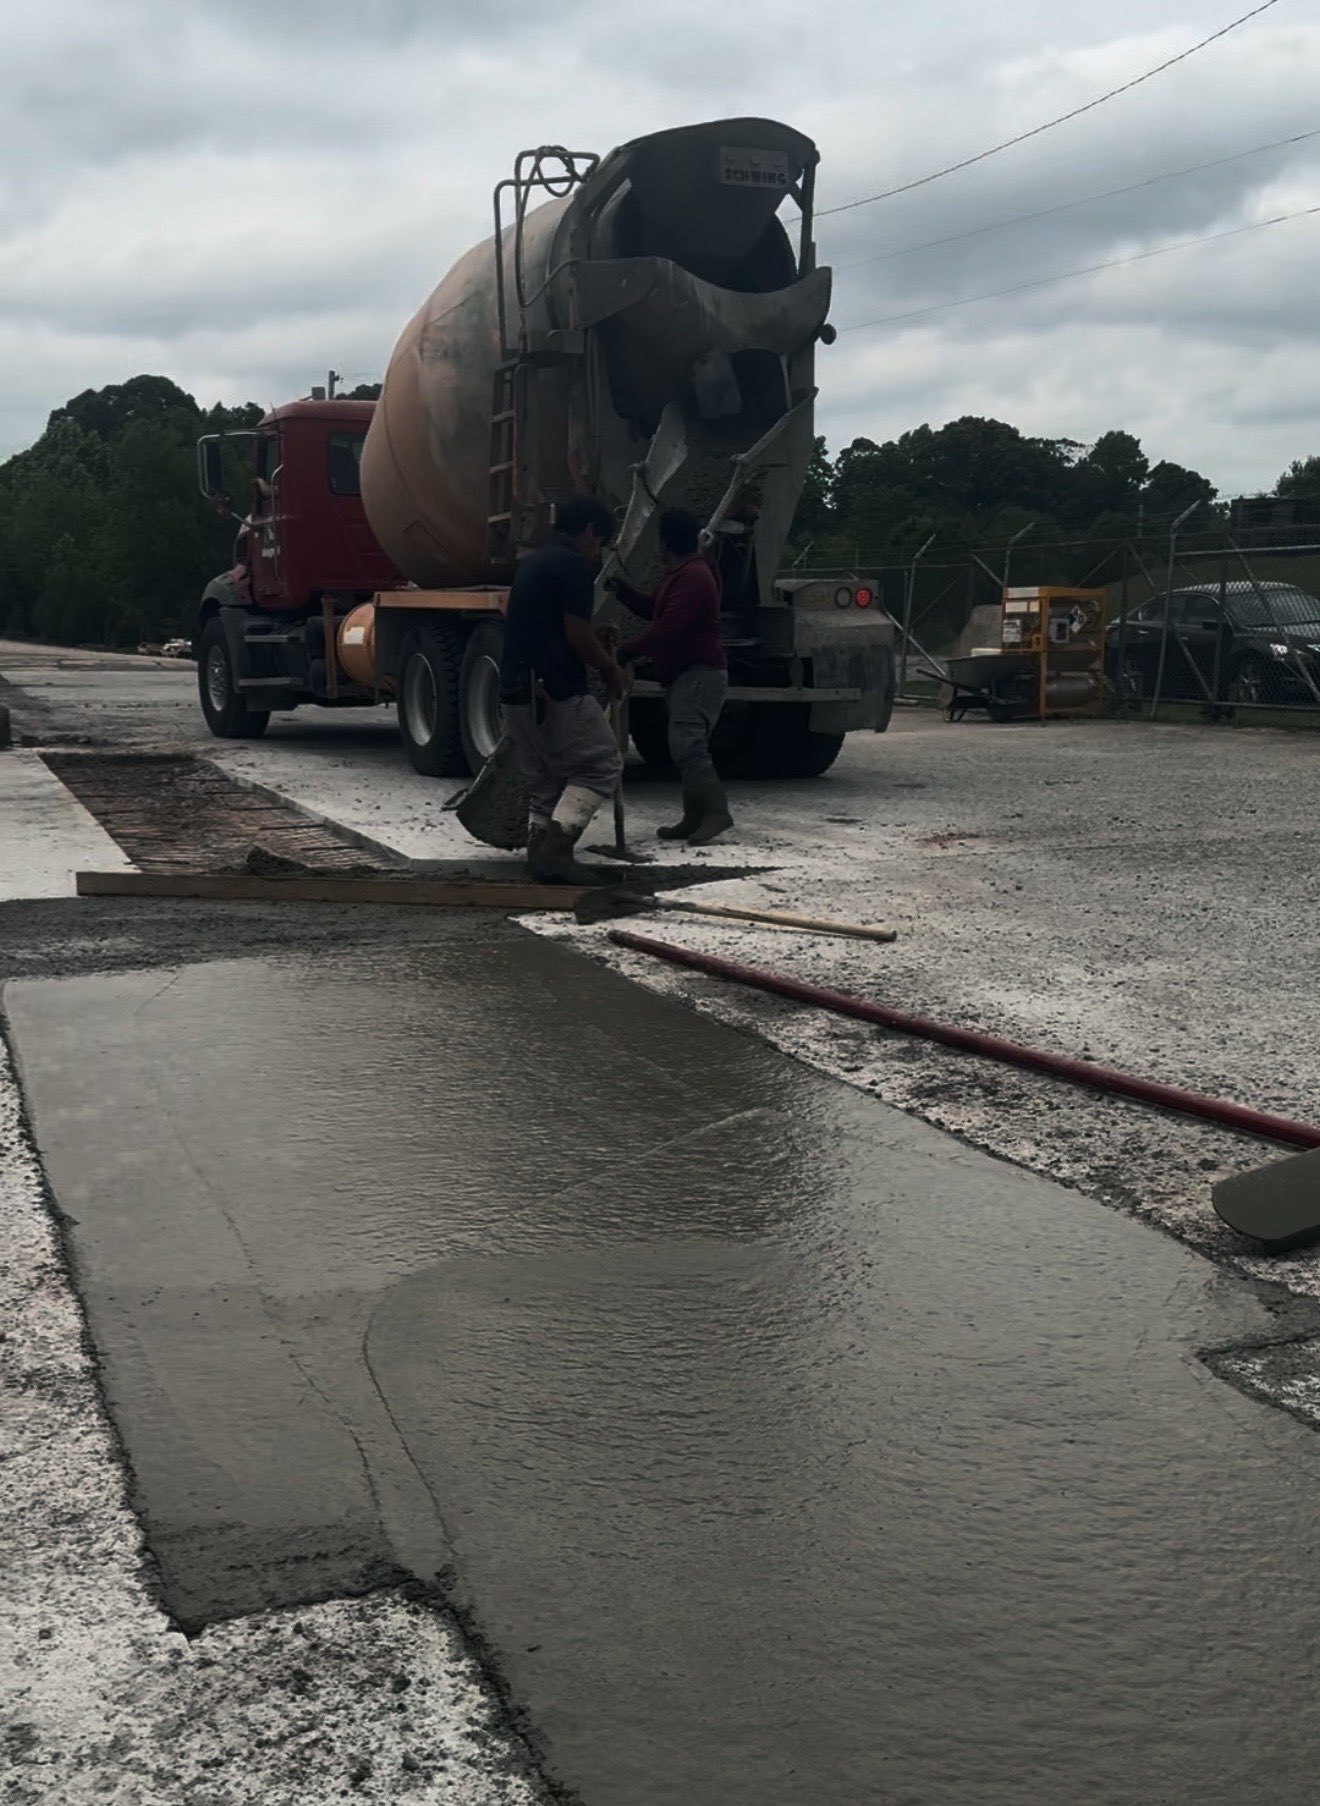
The pump line advances one direction across each slab section while a screed follows behind in real time, keeping the leading edge wet-on-wet. No mid-slab pauses, no stiffened edges left waiting to bond against fresh concrete from the next truck.
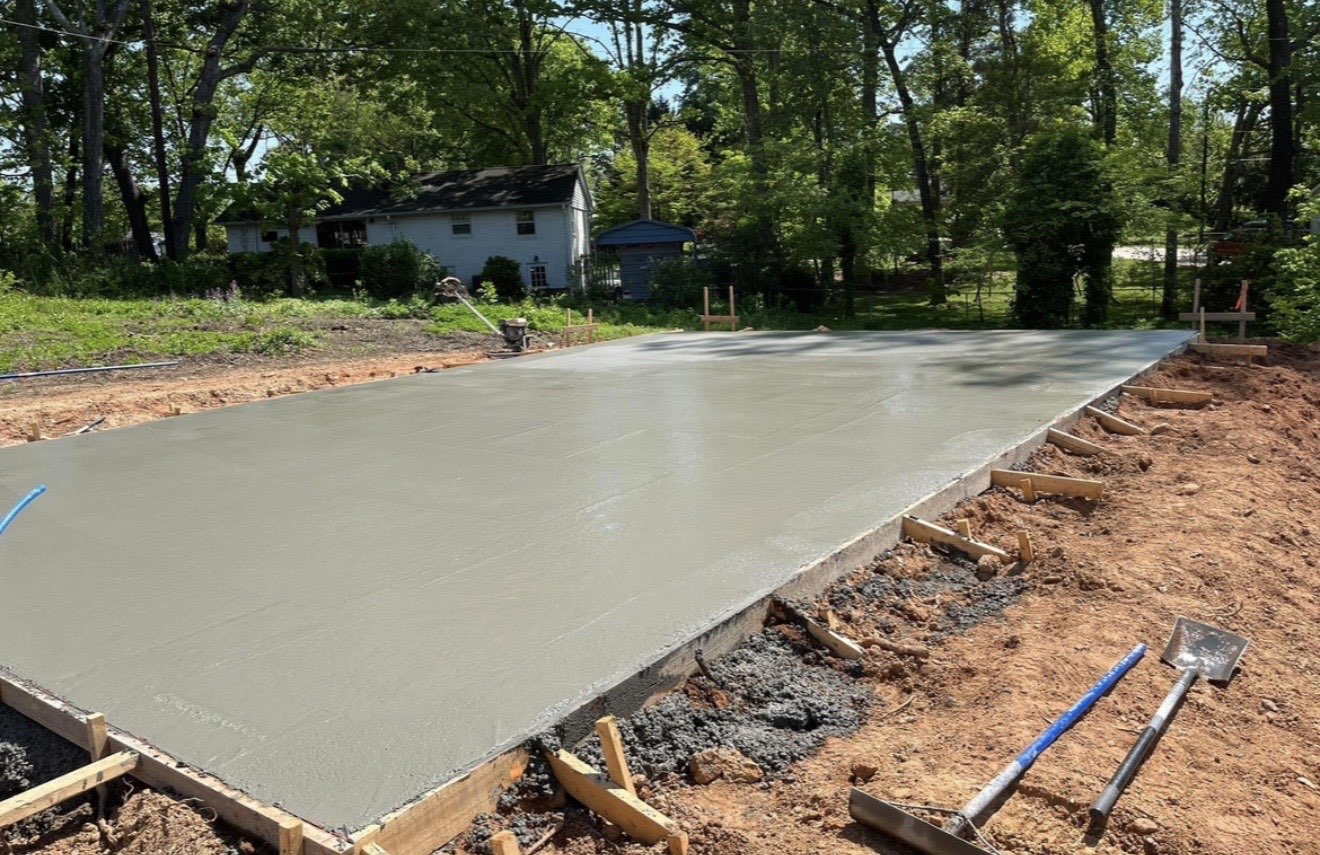
Bull Floating
Immediately behind the screed, the bull-float rides across to press aggregate down and float cement paste to the top. That first surface closure is what decides whether a low-angle Carolina winter sun reveals a flat pour — or a wavy one.
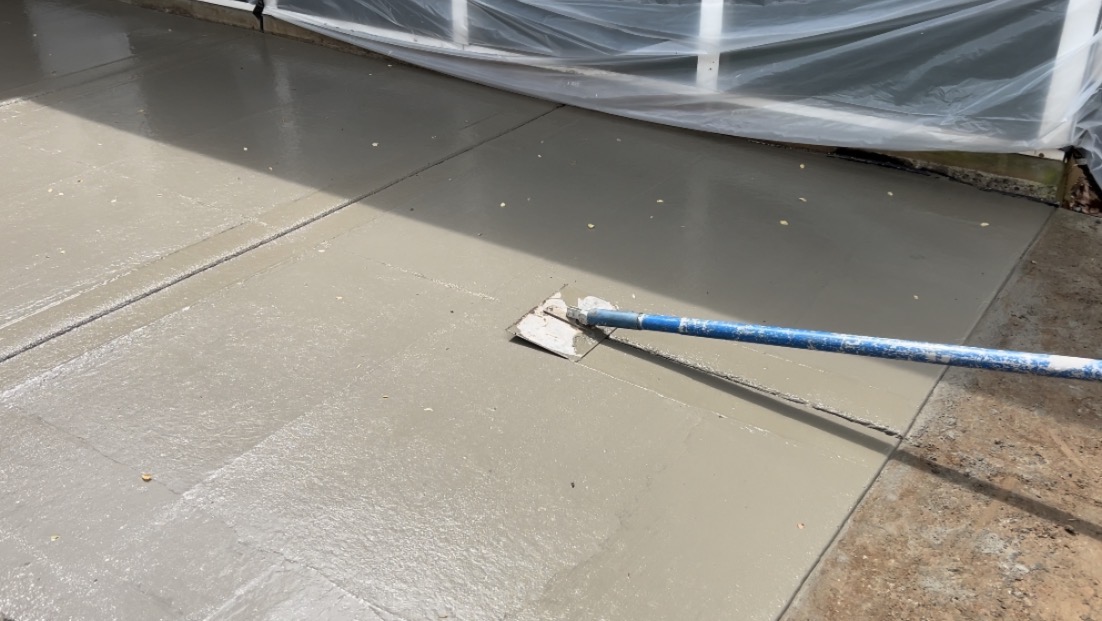
Edging & Jointing
Perimeter edges get hand-tooled round to shed impact loads, and saw-cut control joints go in within a four-to-eight-hour finishing window. Leave it longer over Charlotte clay and random cracks beat you to it. Joint spacing in feet mirrors slab thickness in inches, aligned to columns.
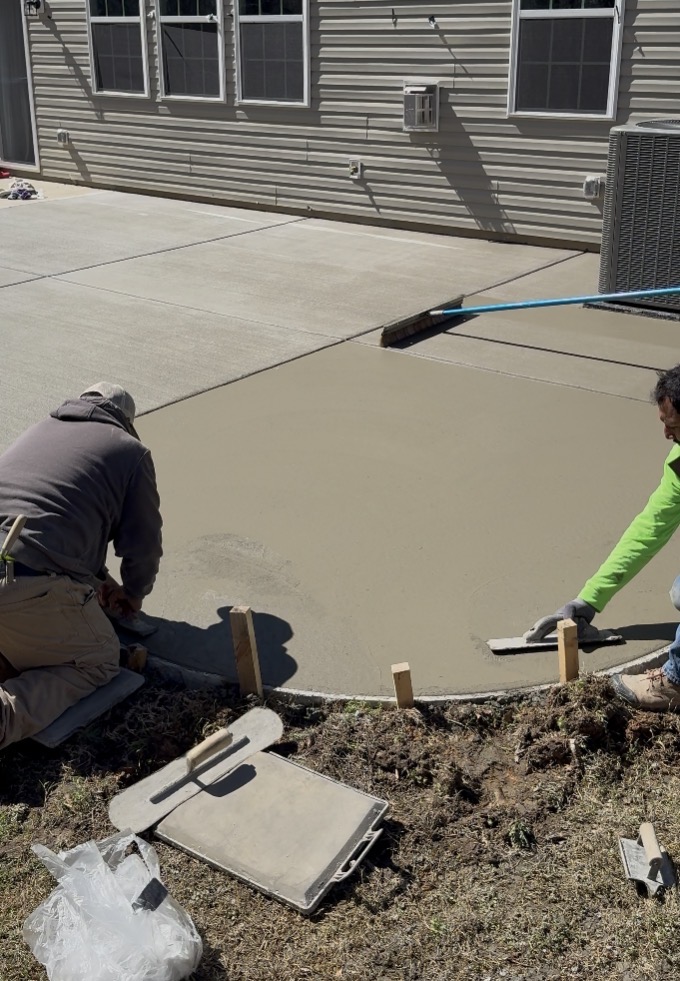
Fresno Finish
A long-handled Fresno makes a second pass to tighten the surface and pull any remaining waves flat. That judgment call — how many passes, when to stop — is exactly what separates a professional finish from a weekend attempt.
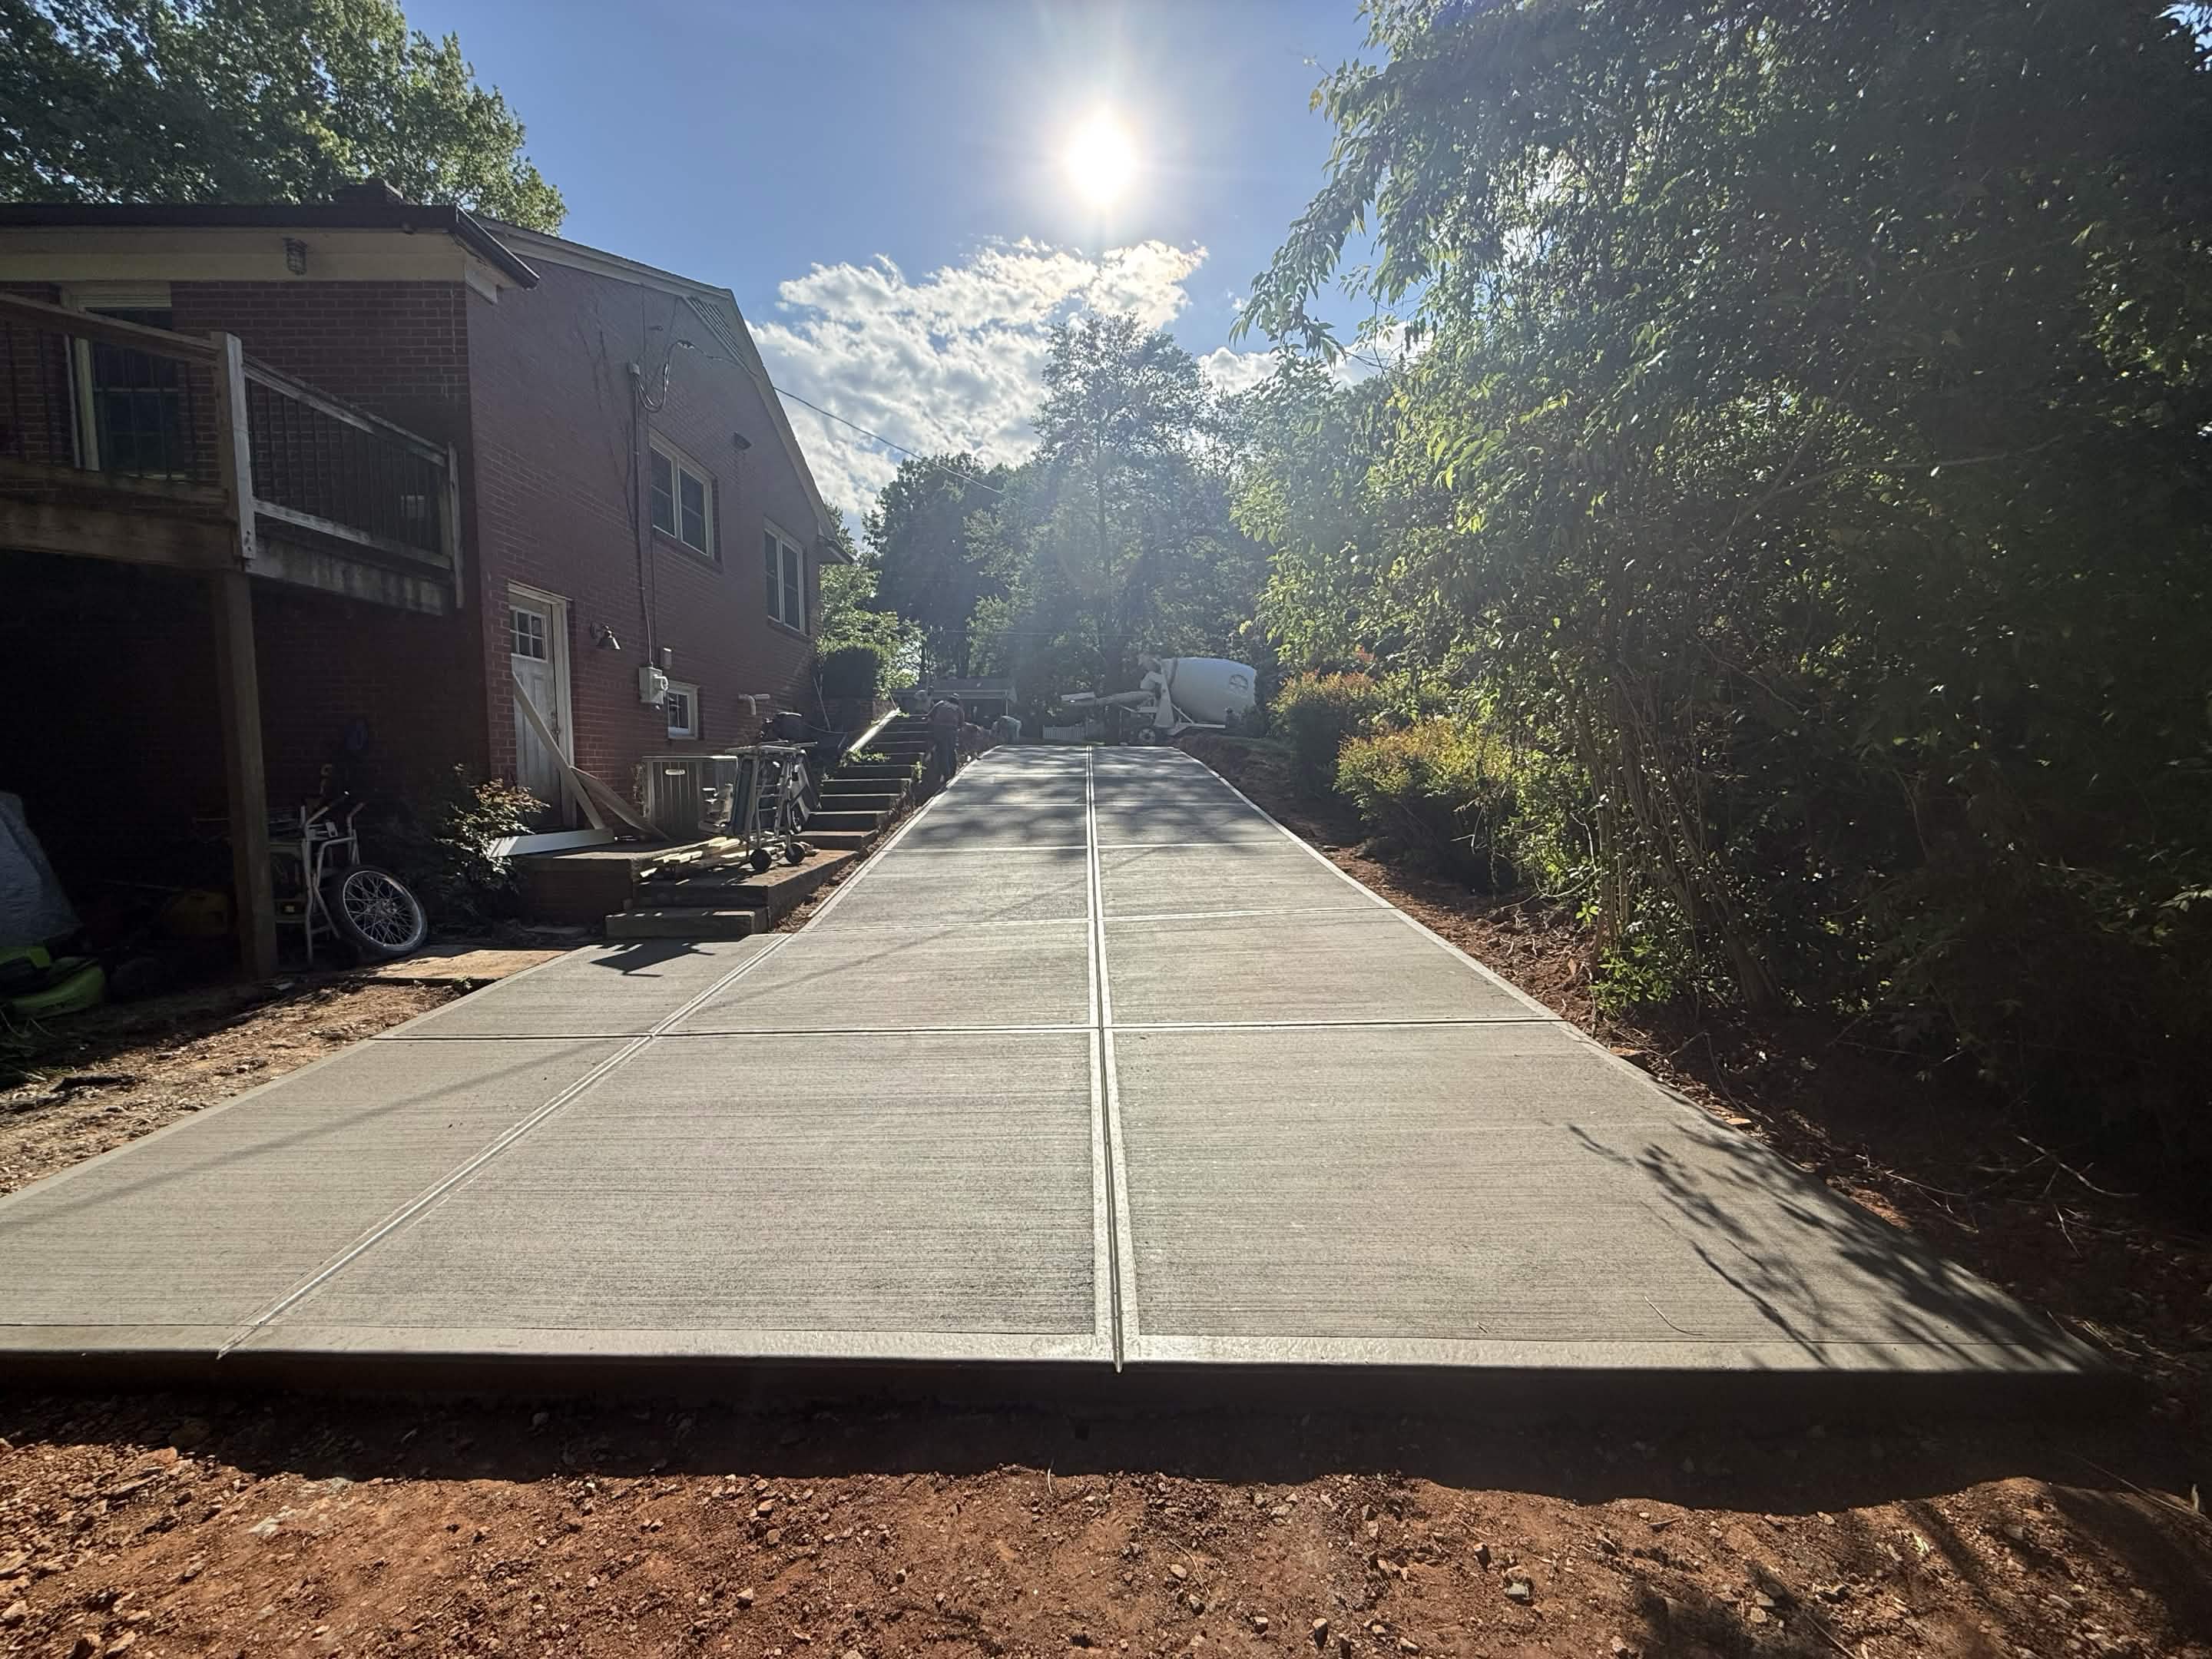
Decorative Detailing
Broom texture drags perpendicular to the direction cars or feet travel, for grip. Stamped patterns get pressed into concrete still holding fingerprint firmness. Exposed aggregate runs a retarder and wash sequence timed to that day's evaporation rate.
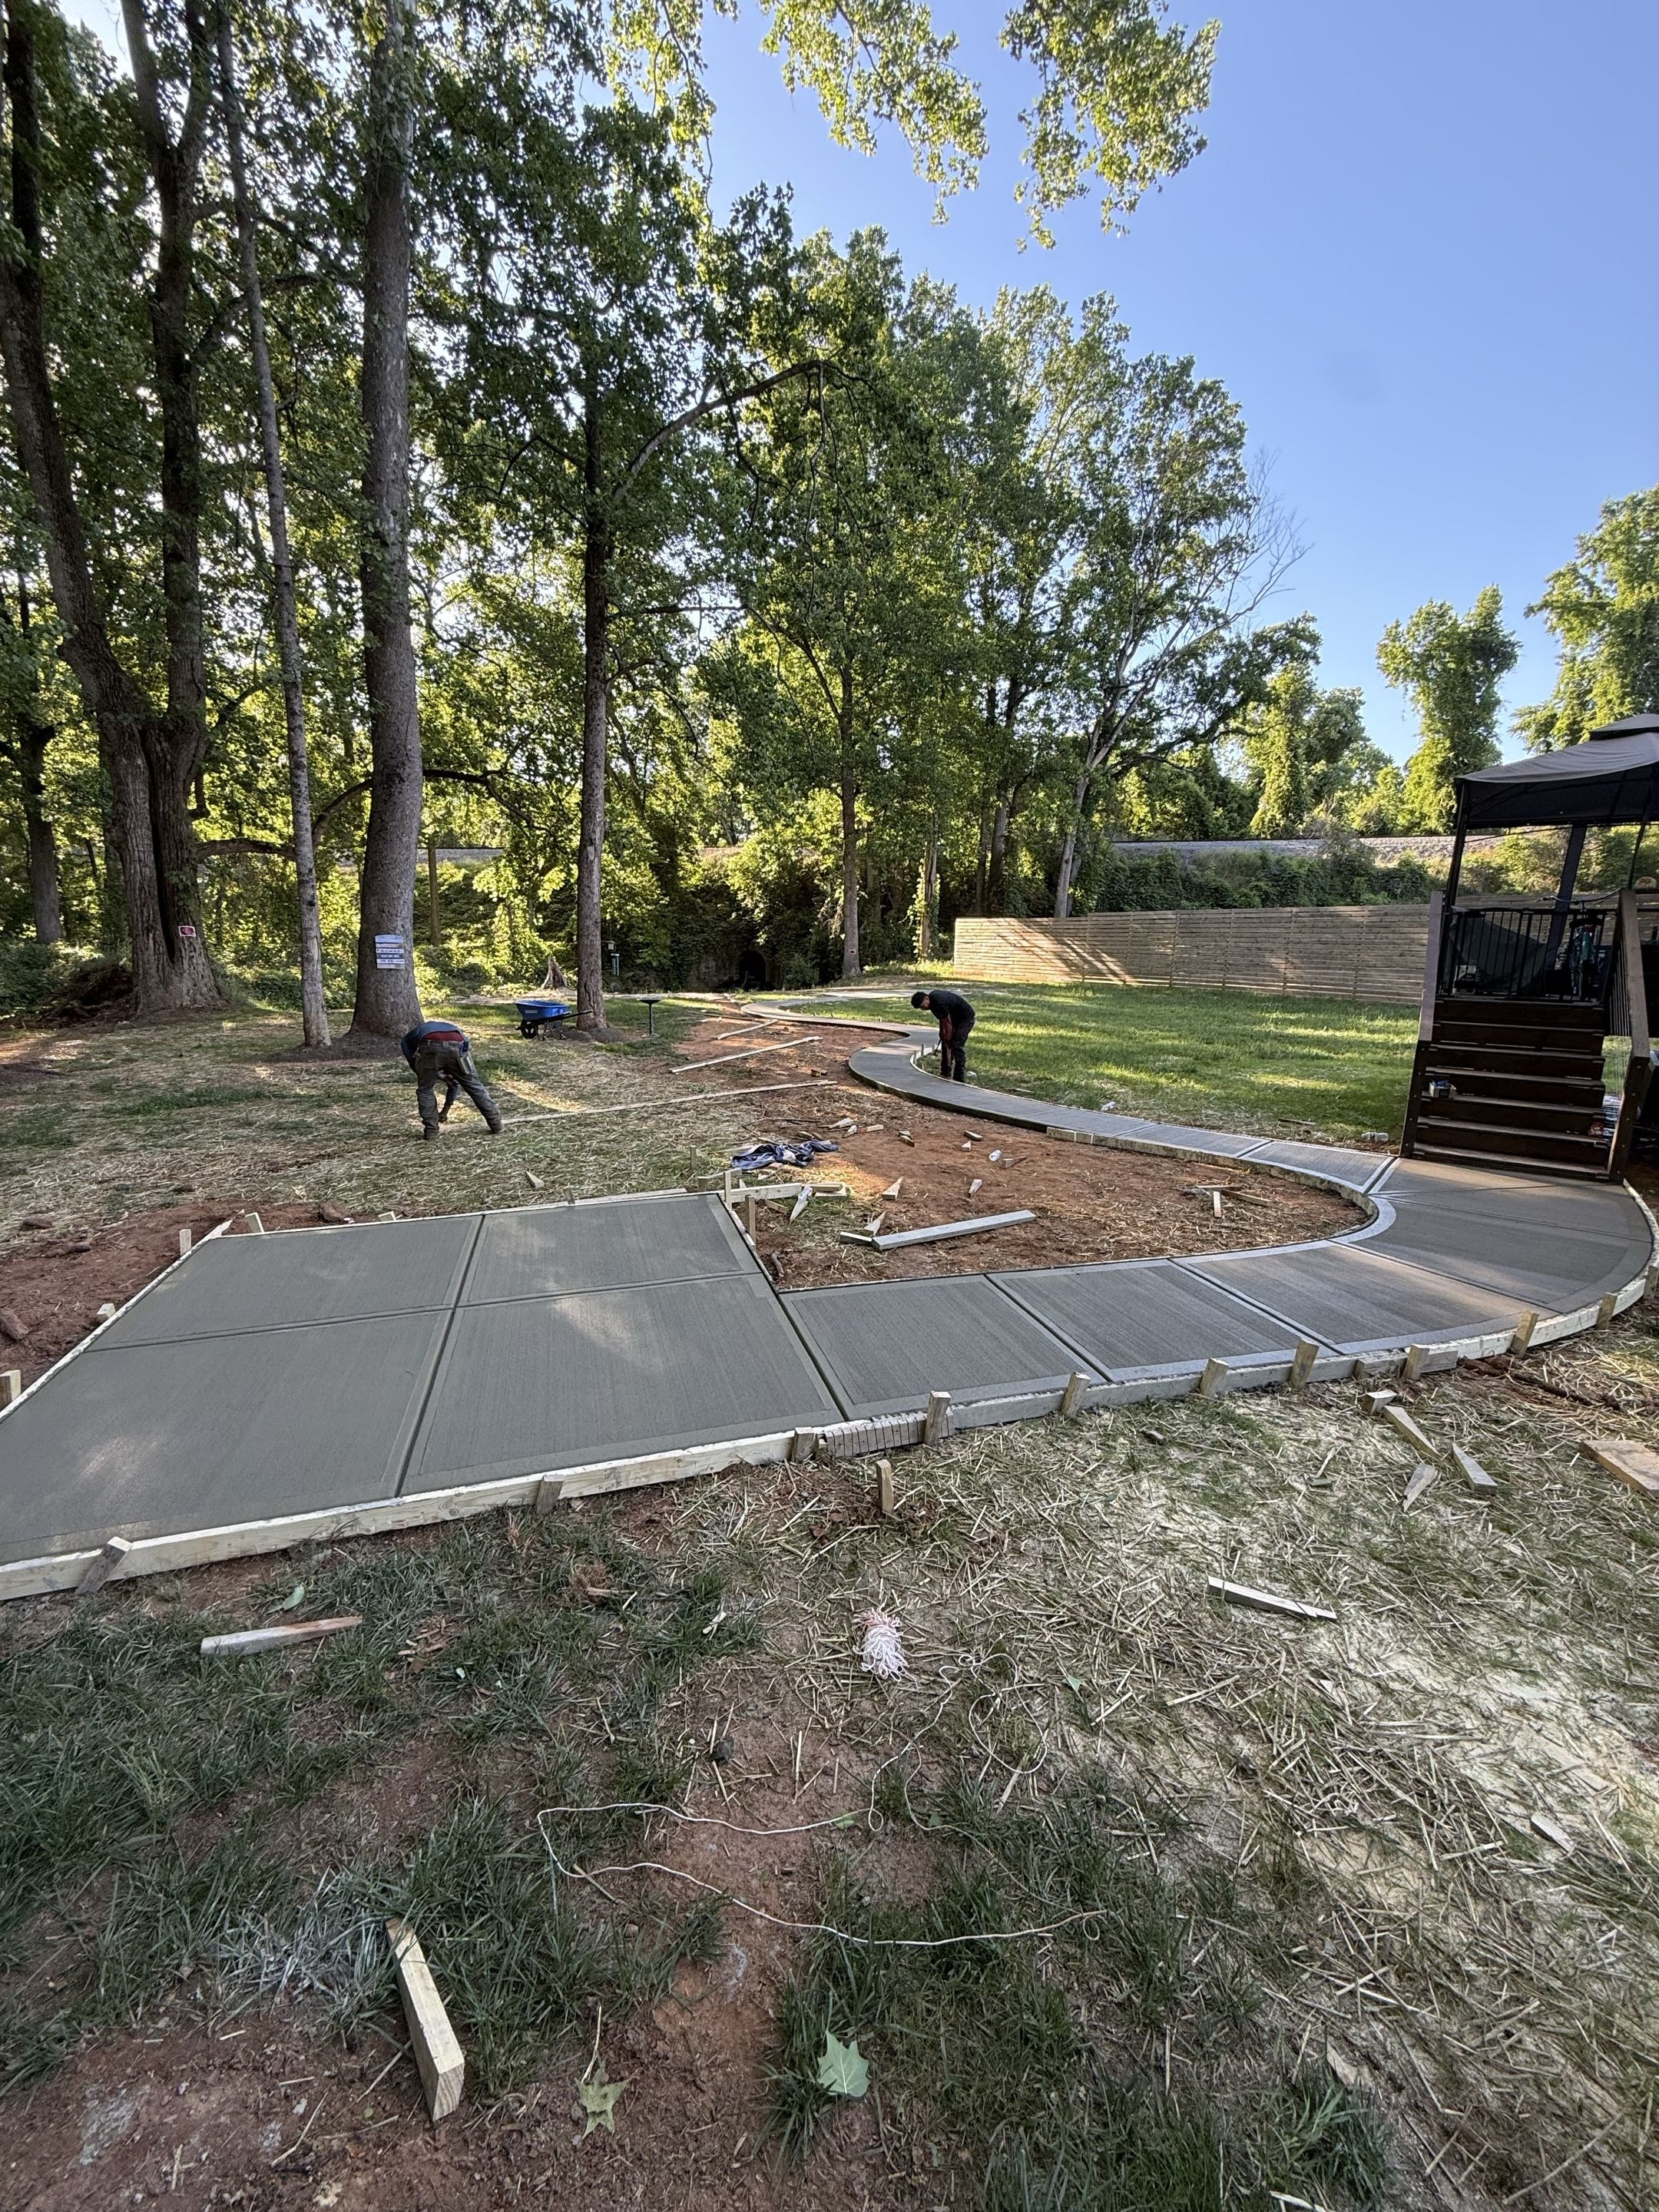
Form Removal
Twenty-four hours is the earliest forms come off — pull sooner and green edges spall, pull later and the stakes fuse to concrete. Flash gets chipped clean, a final chamfer tooled on every exposed edge, then lumber loaded and gone that afternoon.
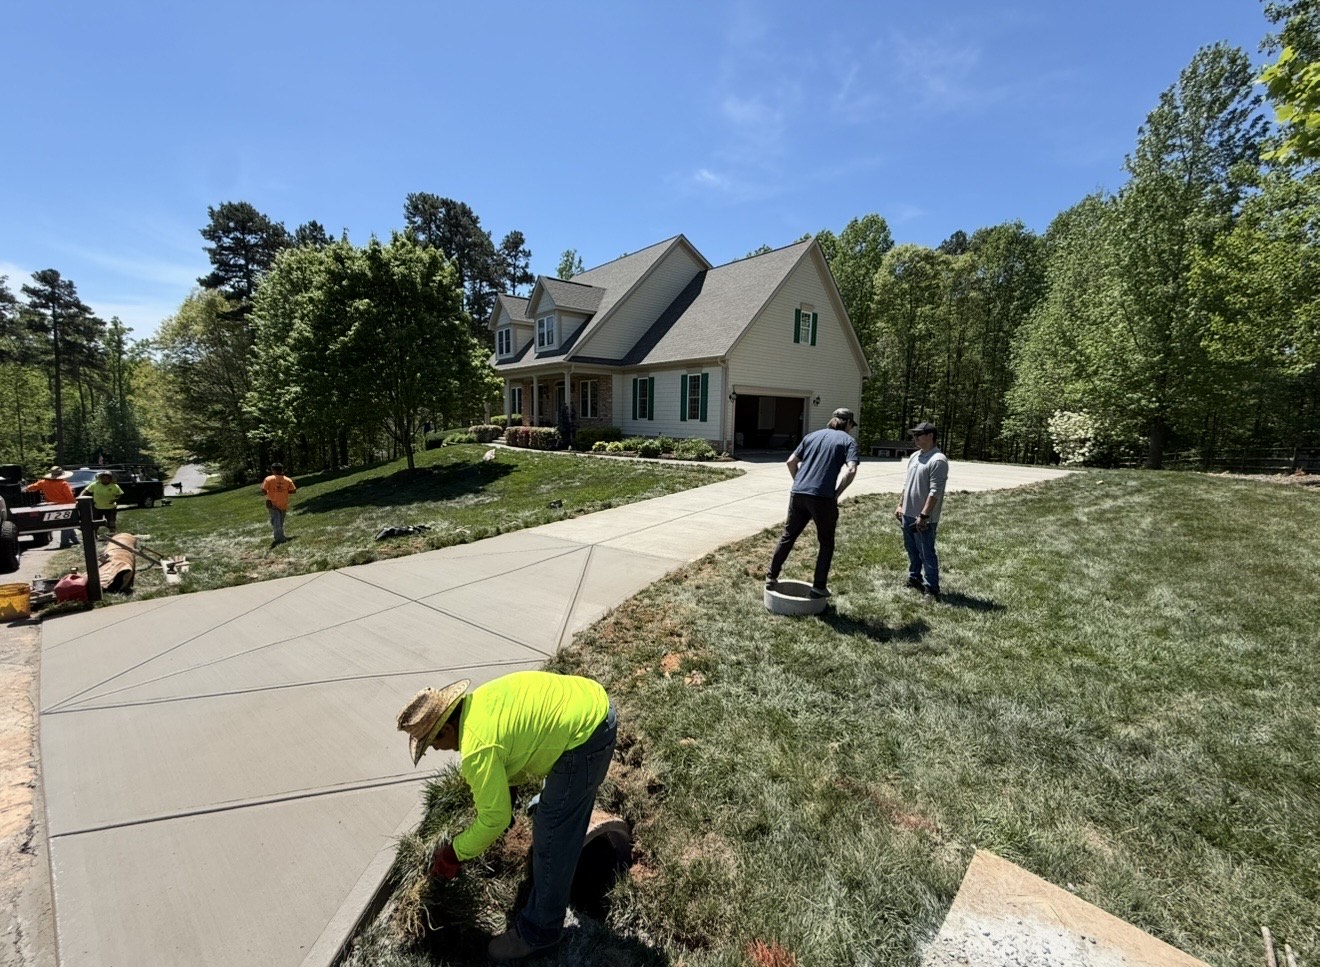
Final Walkthrough
Once the slab is finished, you and the foreman walk it together. Every question — a joint that looks wide, a spot that reads high, a texture line — gets addressed on the spot. Your invoice only hits after you sign off, never before.

Usage Guide
A printed care sheet stays with you: foot traffic at 24 hours, passenger vehicles at 7 days, heavy loads at the full 28-day cure. Also included — a written no-deicing-salt warning for the first winter, and a reseal window for any stamped surface.
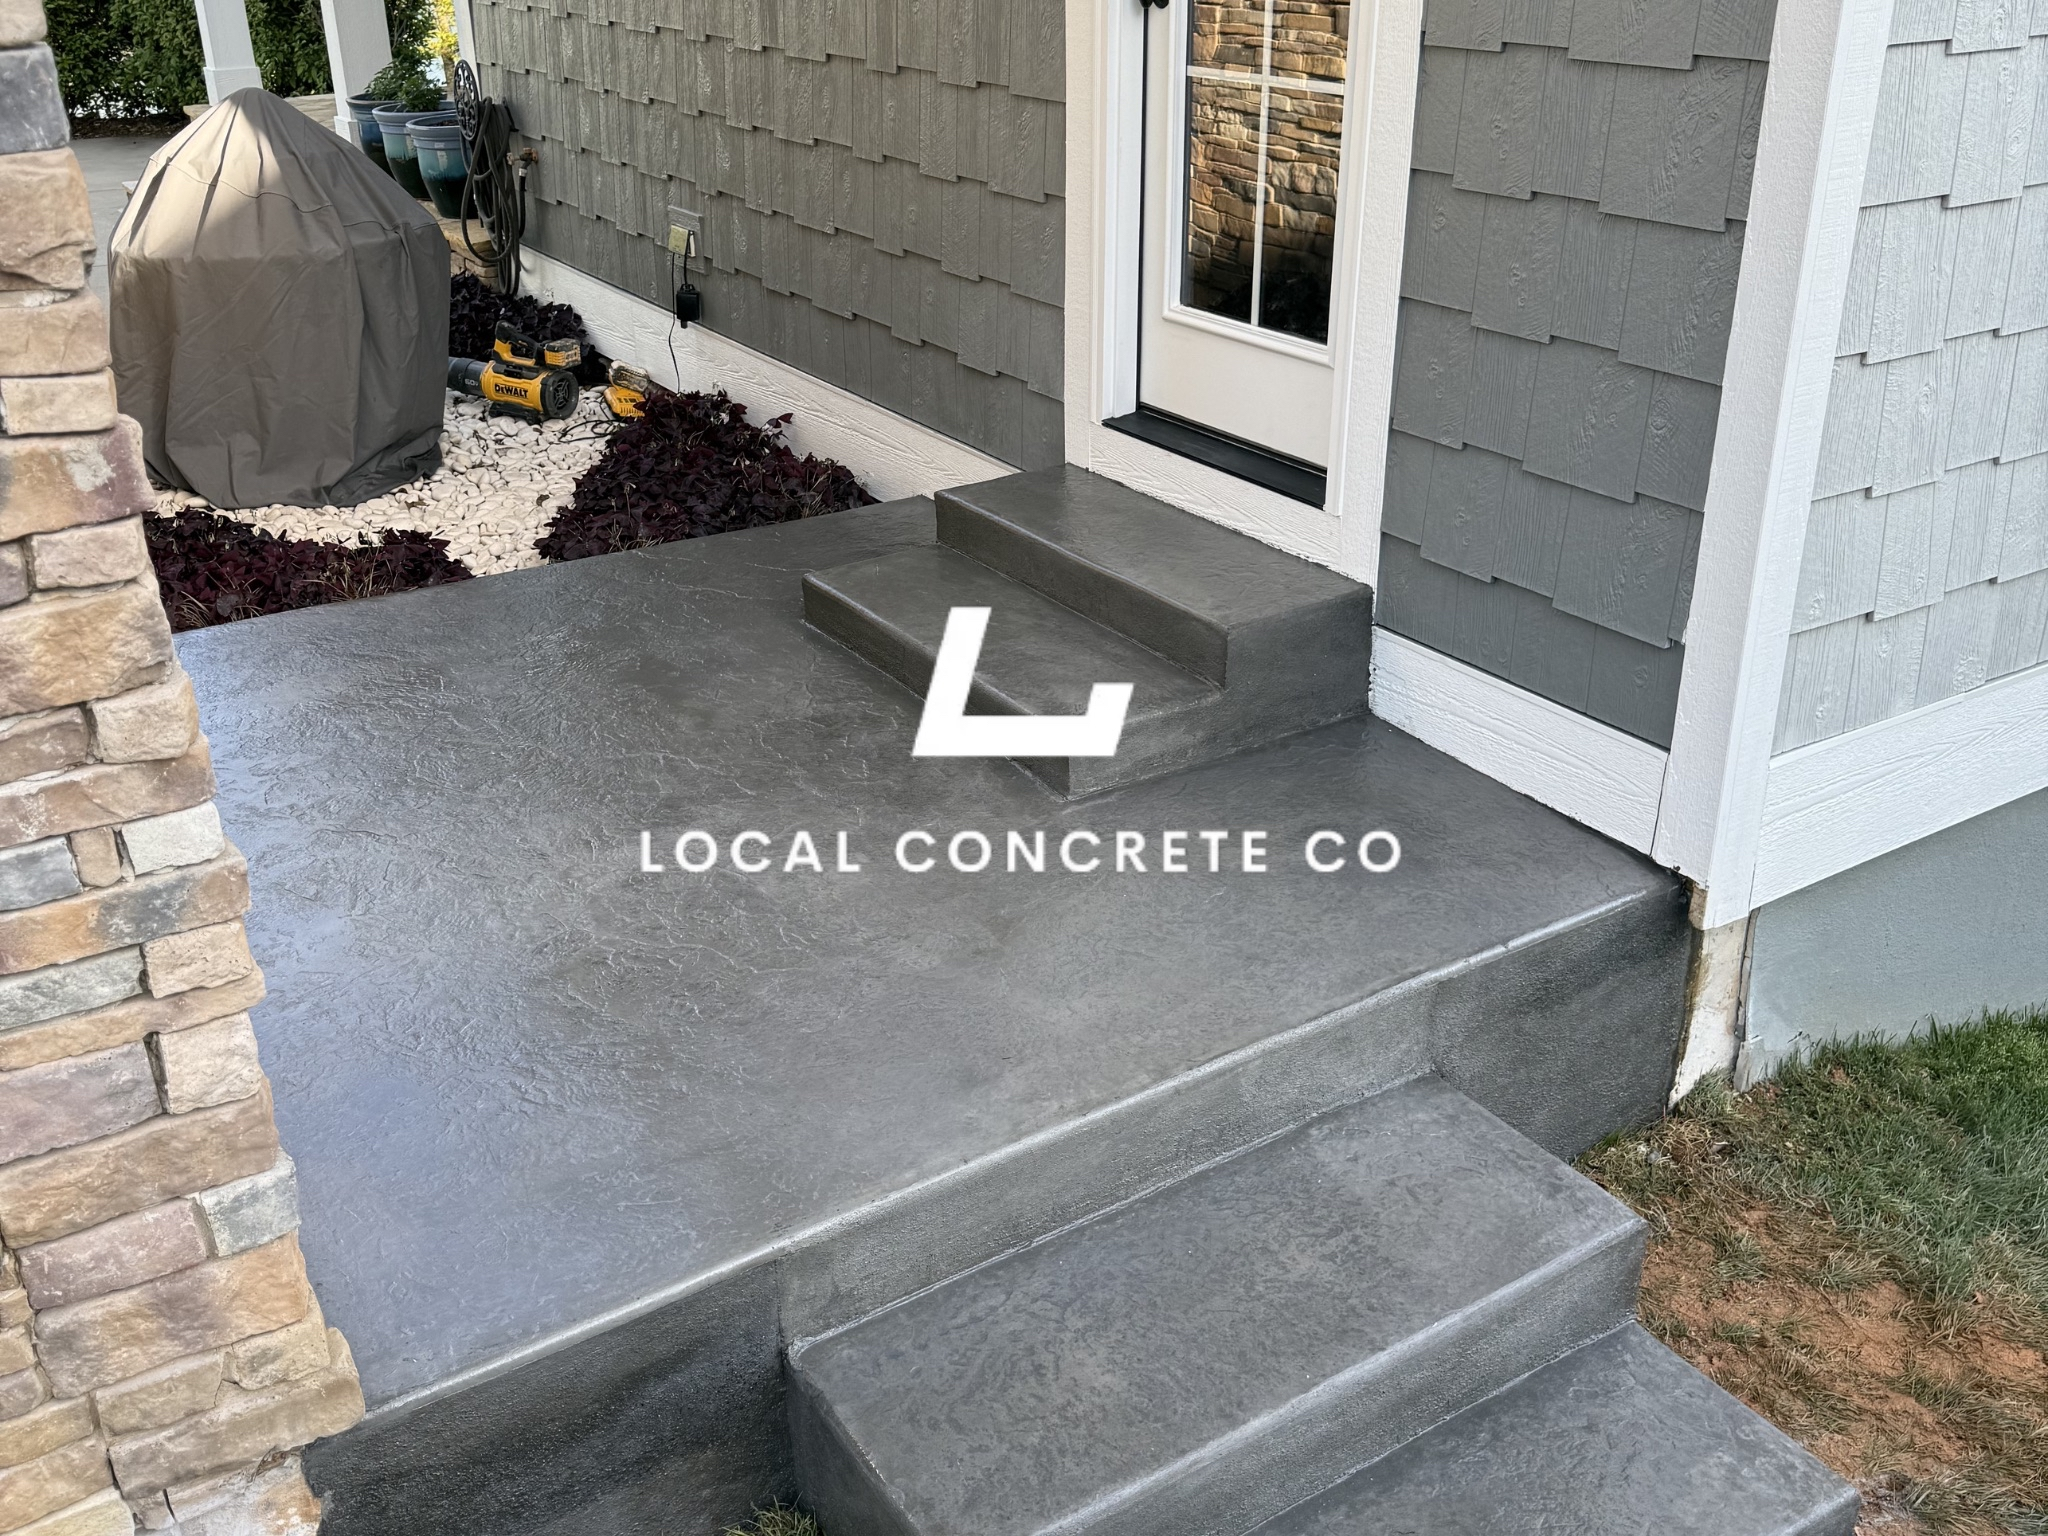
Project Completion
Debris rolls off the truck, your property gets left tidier than we found it, and a written workmanship warranty lands in your email. That sequence — walkthrough signed, site cleared, warranty delivered — is what actually finishes a pour on our books.
Hoop Footings, Anchor Detail, and Why They Are a Separate Pour
The single detail that decides whether a hoop pad holds together long-term or cracks at the pole within the first year is how the hoop footing gets tied into the surrounding slab.
In-ground residential hoops (Goalrilla, Goalsetter, Ryval, Silverback, and equivalents) call for a 4×4-foot to 4×5-foot footing driven 48 inches deep — well below frost line anywhere in the Charlotte region — with a J-bolt or anchor-plate assembly cast into the concrete. That footing must be poured as its own concrete column with an isolation joint separating it from the surrounding pad — never poured monolithic with the slab. The pole footing shifts on its own timing as the surrounding clay swells wet and shrinks dry through the year; tie it rigidly into the slab and a crack radiating out from the base is guaranteed within a winter or two.
The correct sequence: dig and pour the hoop footing first with the anchor bolts set to the manufacturer's exact template, let it cure for the manufacturer-specified minimum (typically 48-72 hours), then pour the surrounding slab with a 1/2-inch closed-cell foam isolation strip around the entire footing perimeter and a sawcut or tooled control joint radiating out to the nearest slab edge. Portable hoops that skip the footing are simpler — the slab just has to be thick enough (5-inch minimum) to take the concentrated wheel load and any hoop-tipping stress.
Finish, Surfacing Options, and Timeline
For a residential hoop court there are three finishes worth considering, each with its own handoff off the slab.
Broom-finish concrete — the pad itself is the finished surface. Broom texture pulled perpendicular to the primary play direction, cure and seal at 28 days, ready for acrylic court paint striping. Least expensive, most durable, warmest underfoot in July. Best fit for casual driveway-style pads.
Acrylic color coat — same broom pad, then after 28-day cure and moisture test the concrete gets 2-3 coats of pigmented acrylic (Deco Color, Nova Court, Plexipave, or equivalent), striping in white, sealed with a clear topcoat. The standard finish for a real-play backyard court. The slab has to pass the same moisture test as pickleball courts (below 3 lbs / 1000 SF / 24 hours calcium-chloride or below 75% RH in-situ) before coating.
Modular sport tile (SnapSports, VersaCourt, Sport Court, and equivalents) — same broom slab, then skip the acrylic entirely. Interlocking polypropylene or PVC tiles snap over the cured pad with a small drainage gap underneath, install in 1-2 days, replaceable one tile at a time when a section wears out. Kinder on knees at the joints and cooler in the summer than bare concrete, but more expensive than the acrylic option.
Slab timeline: 1 day layout and dig, 1-2 days base build, 1 day hoop-footing pour, 2-3 days hoop cure, 1 day slab form and reinforcement set with inspection, 1 day slab pour and finish, then 28 days cure before any acrylic surfacing. Slab-only project window is 7-10 working days plus cure. Full turnkey installation (slab + surfacing + hoop + lines) runs 4-8 weeks depending on surfacing choice and crew availability.
Why Homeowners, HOAs, and Rec Facilities Work With Us
Local Concrete Charlotte runs residential and light commercial pours from inside 485 out through the entire suburban ring — backyard hoop pads in SouthPark and Dilworth, full half courts in Weddington and Huntersville, HOA amenity courts in the Ballantyne and Providence corridors, church rec pads, private-club builds, and multi-court community projects. Every court we pour comes with the same commitments regardless of scope.
Nothing collected up front. The invoice is settled after the work is done, once the pad clears our walk-through and the pole footing is bolted down to whatever the hoop maker requires.
Spec sheet in hand before we break ground. Court measurements, slope direction and grade, stone build, thickness, rebar type and spacing, joint pattern, pole-footing detail, isolation-joint layout, and the mix design are all documented on paper before any equipment rolls in.
Built to match your hoop kit. Whatever in-ground rig you have chosen — Goalrilla, Goalsetter, Ryval, Silverback, or a commercial-grade tower — we hit the manufacturer's anchor template exactly. Running a portable instead? We size the slab thickness for portable-hoop loads. Not decided yet? We can list residential and commercial units we have already anchored.
Carrying full NC licensing and insurance. GC coverage, product liability, workers comp on every crew member, and site cleanup all built in — no surprise disposal or cleanup lines showing up on the invoice after the pour is done.
Basketball Court
FAQ
The questions Charlotte-metro homeowners actually ask us about basketball court — slab thickness, Piedmont clay prep, cure-time realities, deposit terms, and what the difference is between a pour that lasts a decade and one that cracks the first winter.
Get Free QuoteHow big does a backyard basketball court need to be?
There are three sizes that actually work in a Charlotte backyard. The smallest is a 30×30 hoop pad (900 SF) that gives you the hoop plus a real free-throw area. A backyard half court at 30×50 (1,500 SF) covers a painted key and a three-point line and plays like a proper half court. A regulation-style half court at 50×47 (2,350 SF) hits full NBA half-court dimensions with the entire three-point arc in place. If the lot supports it, 50×50 is the sweet spot for real-play backyard use. Anything tighter than 30×30 is really just a driveway hoop, not a court.
What does a concrete basketball court cost in North Carolina?
How thick does the slab need to be for a basketball court?
Should the hoop footing be poured with the slab or separately?
Can I convert my existing driveway into a basketball court?
What direction should a court face for playing?
Ready to price a Charlotte-metro pour?
Walk-and-bid is free, no deposit at booking, and you only pay after you sign off on the finished slab.
Get Free Quote